

Billing
To create a project where communication happens via email and get notifications through SNS. So, we can use here cloud watch service for monitoring(alerts). And, whenever the bill goes greater than 5$, we will get the email through SNS.
Step 1: Search CloudWatch service and naviagte.
Step 2: Click on Alarms on the right menu
Step 3: Click on billing in alarms.
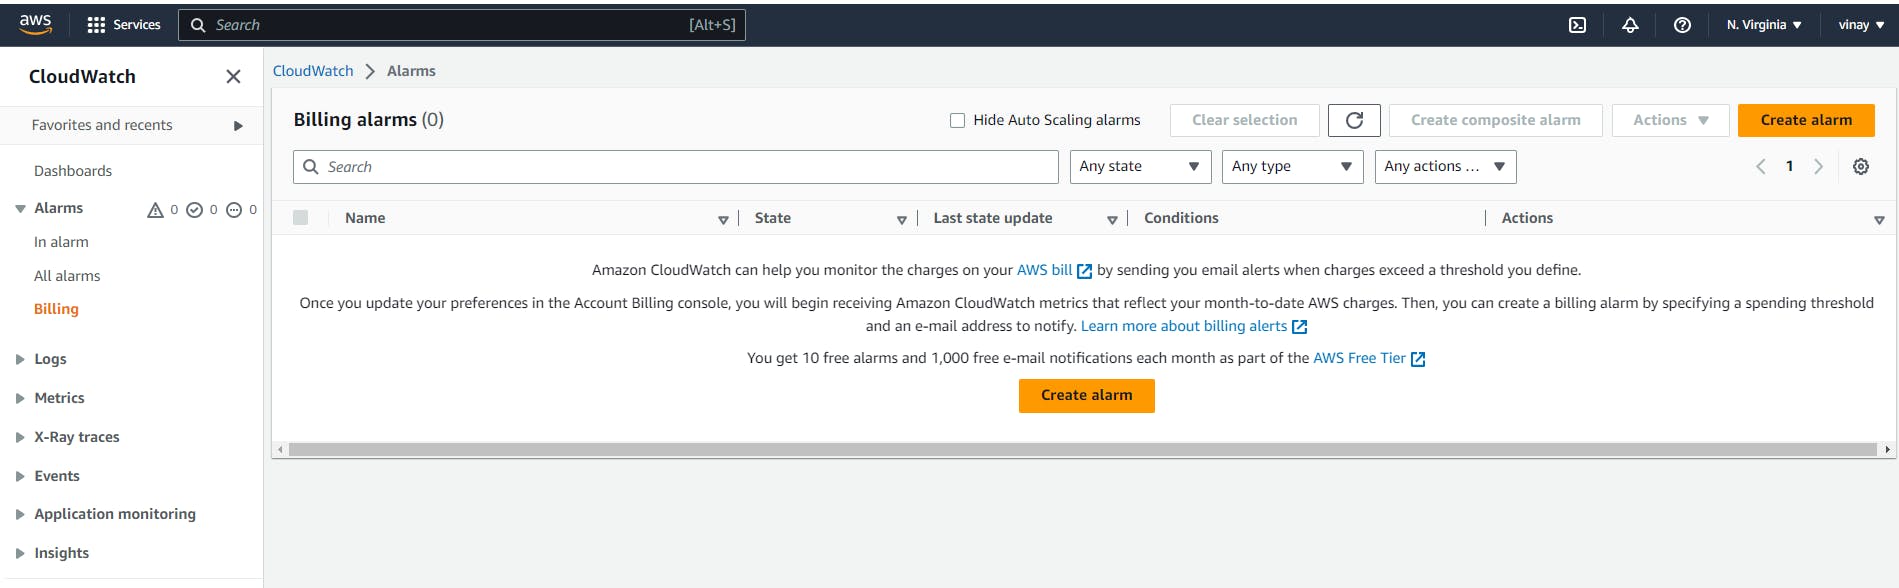
Step 4: Click on Create Alarm
Step 5: Set specify metrics and conditions
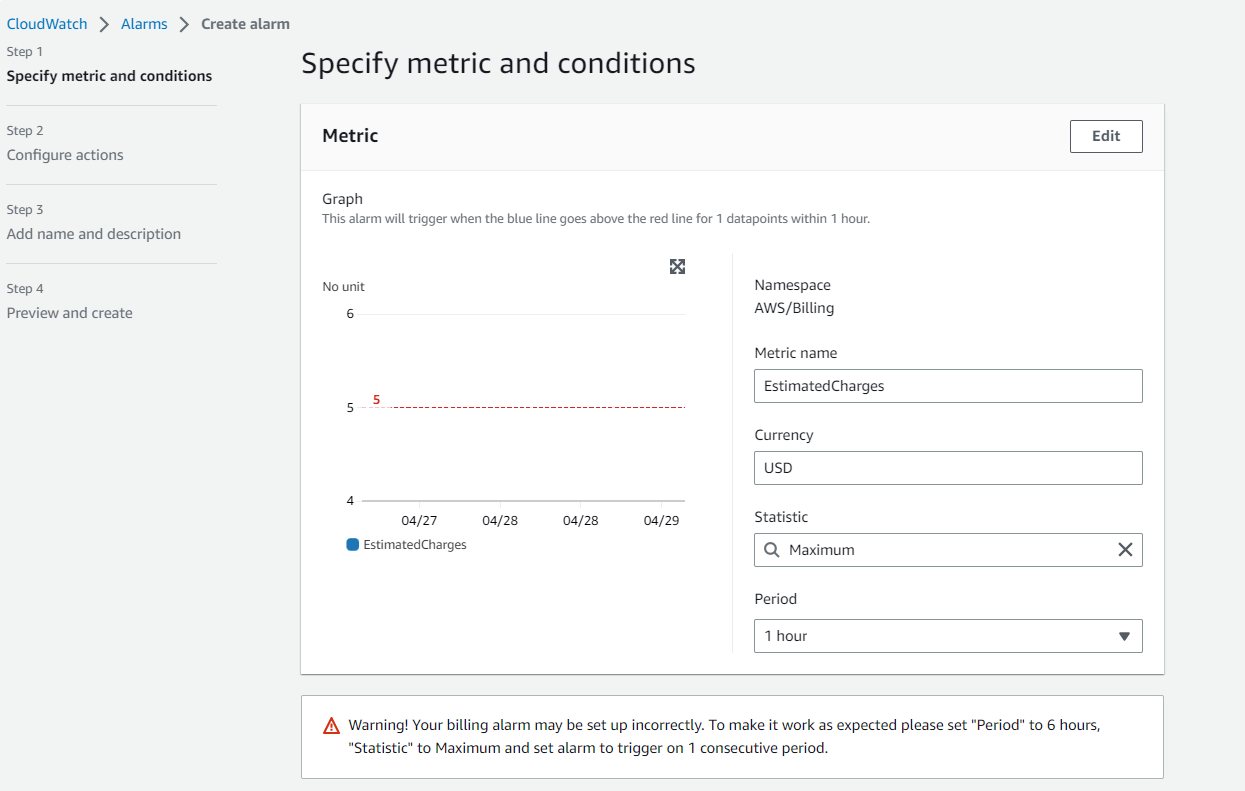
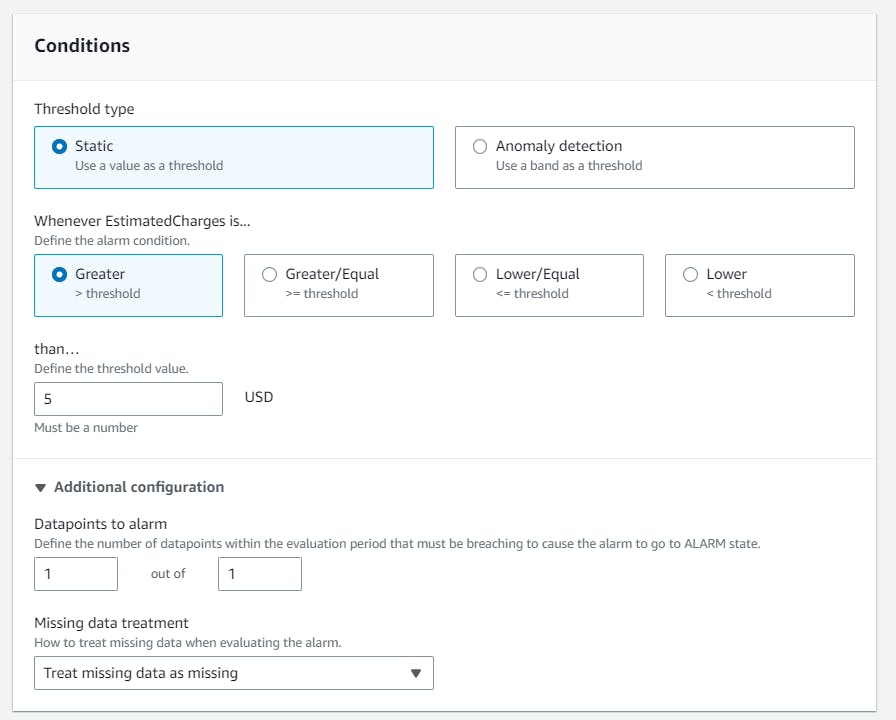
Step 6: Click on Next.
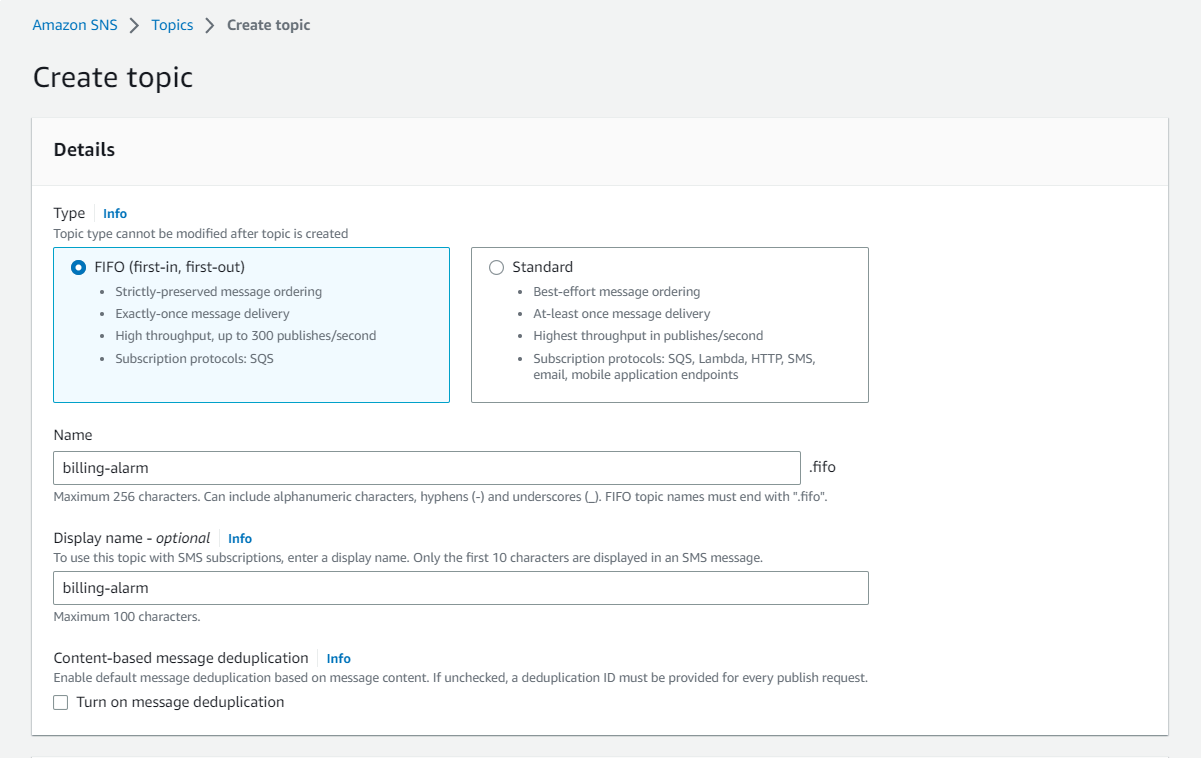
From steps 7 to 10, these are other ways to create topics but from step 11 we can create a topic in the same cloud watch page by selecting the radio button to create a topic.
Step 7: Search SNS and navigate.
Step 8: Click on topics inside the right menu.
Step 9: Click on Create topics.
Step 10: Add details and click on Create.
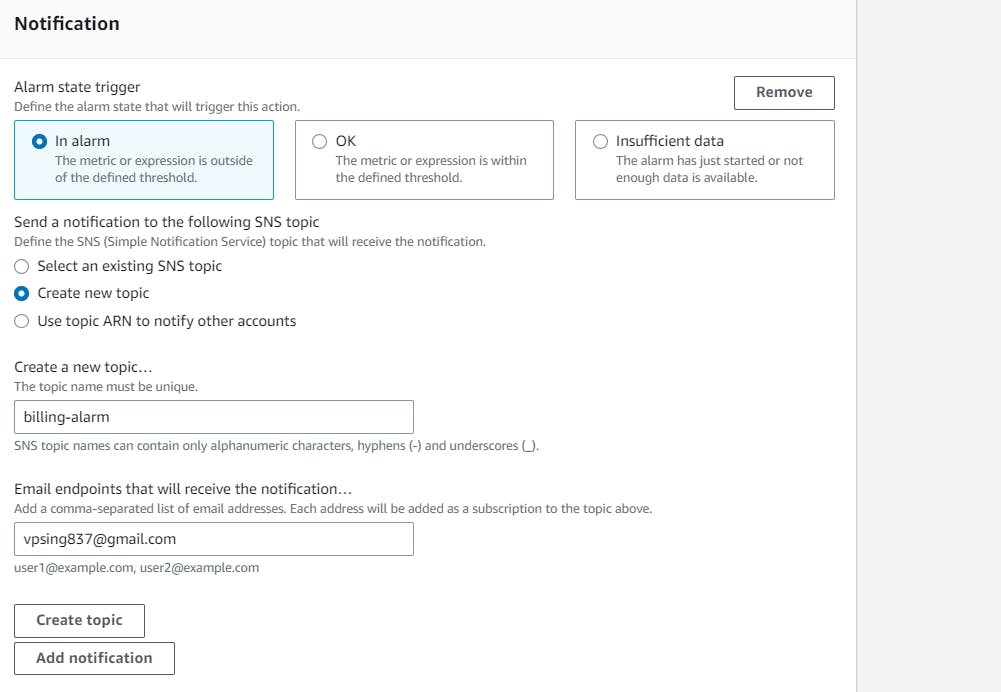
Step 11: Select the "create topic" radio button and add topic details in the notification.
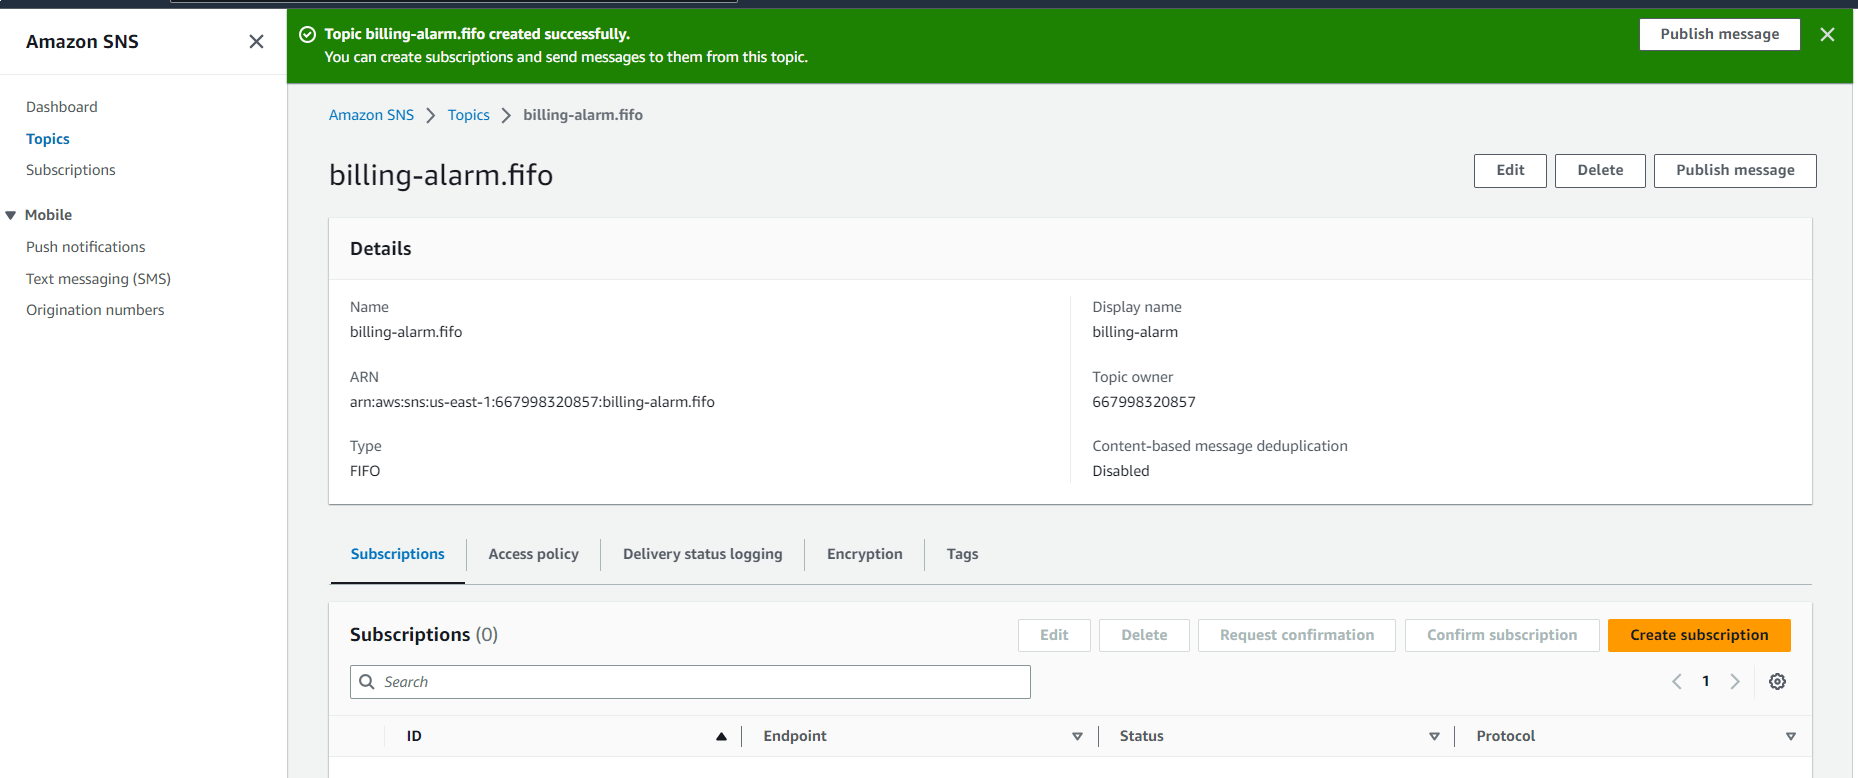
Step 12: Click on Create a topic and we can see the email added on the SNS page.
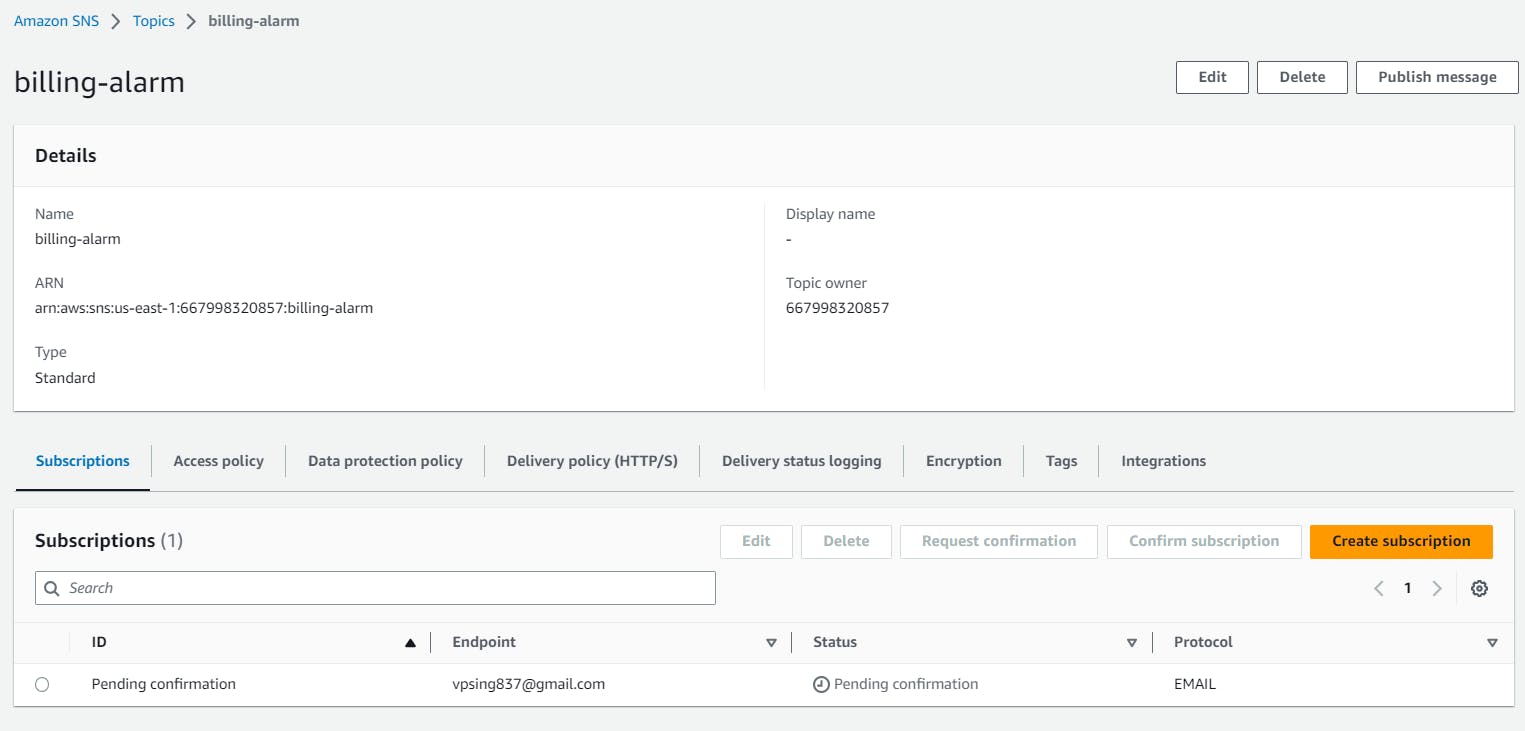
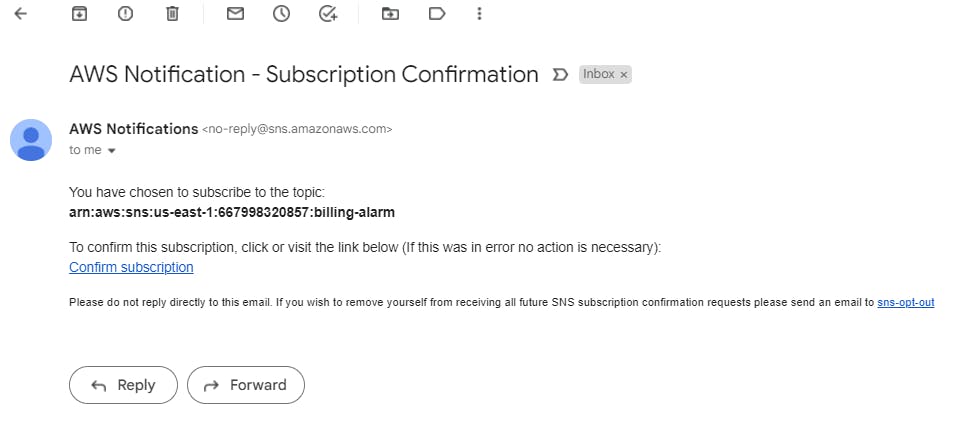
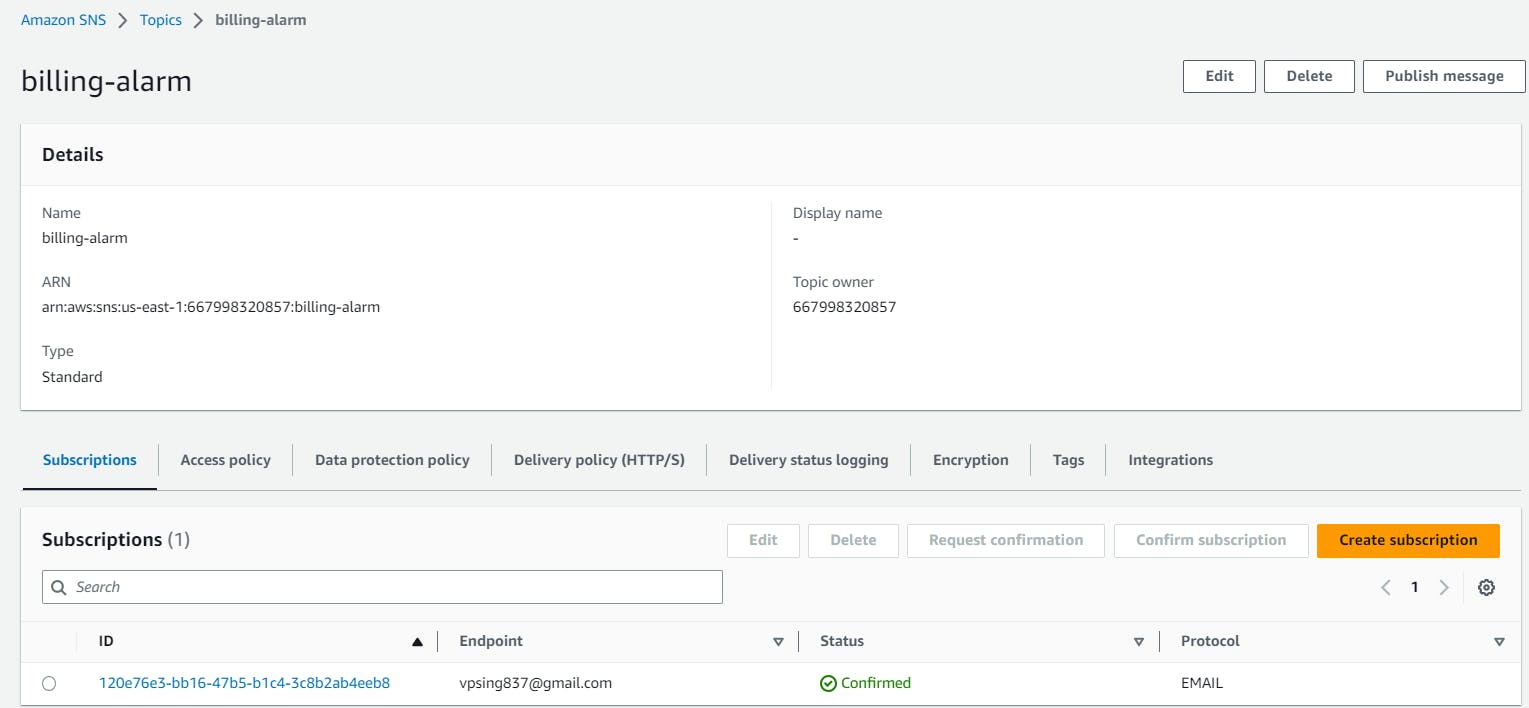
Step 13: Now, go to your email and confirm the subscription.

Step 13: Go to the cloud watch page and click on next.
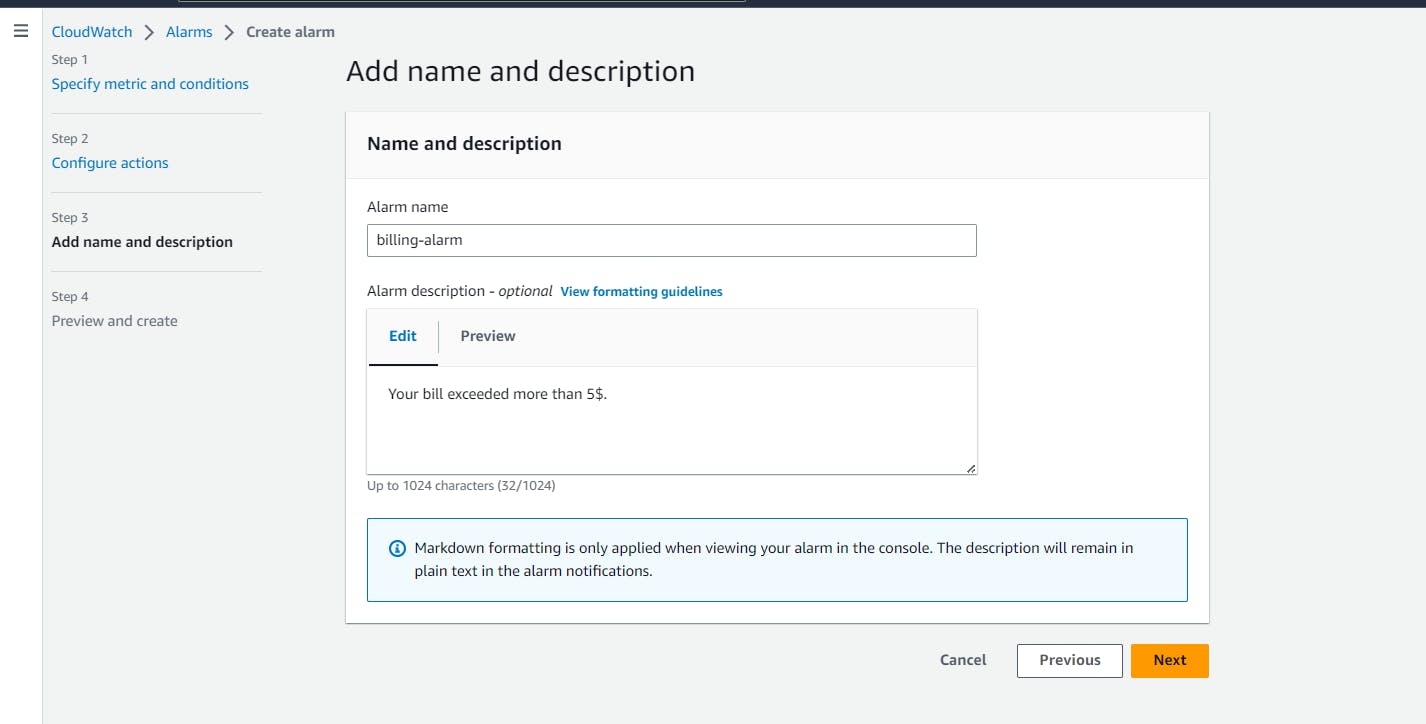
Step 14: Click on next.

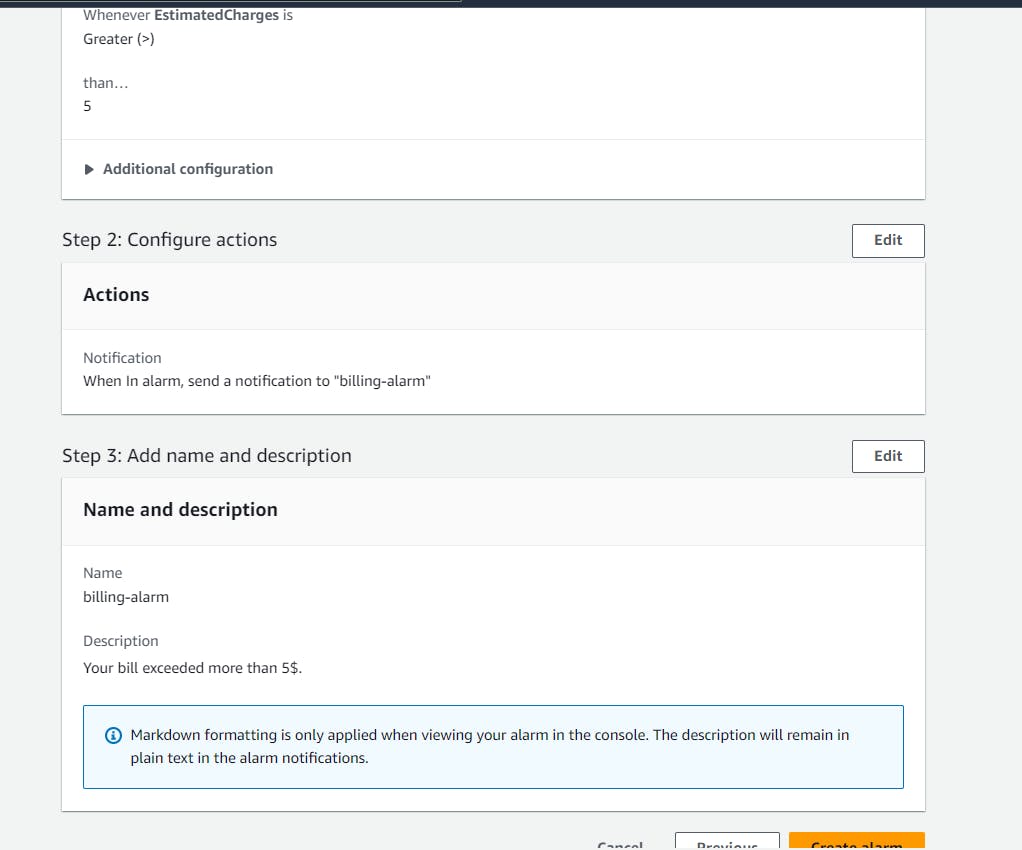
Step 15: Click on Create alarm and the alarm will be created.

In the same way in the cloud watch, we can create logs, events etc.
Virtual Private Cloud (VPC)
Amazon Virtual Private Cloud (Amazon VPC) provides a logically isolated area of the AWS cloud where you can launch AWS resources in a virtual network that you define.
You have complete control over your virtual networking environment, including a selection of your IP address range, the creation of subnets, and the configuration of route tables and network gateways.
You can easily customize the network configuration for your Amazon Virtual Private Cloud. For example, you can create a public-facing subnet for web servers that can access the internet and can also place your backend systems such as databases or application servers to a private-facing subnet.
You can provide multiple layers of security, including security groups and network access control lists, to help control access to Amazon EC2 instances in each subnet.

Features
The following features help you configure a VPC to provide the connectivity that your applications need:
Virtual private clouds (VPC)
A VPC is a virtual network that closely resembles a traditional network that you'd operate in your data center. After you create a VPC, you can add subnets.
Subnets
A subnet is a range of IP addresses in your VPC. A subnet must reside in a single Availability Zone. After you add subnets, you can deploy AWS resources in your VPC.
IP Addressing
You can assign IP addresses, both IPv4 and IPv6, to your VPCs and subnets. You can also bring your public IPv4 and IPv6 GUA addresses to AWS and allocate them to resources in your VPC, such as EC2 instances, NAT gateways, and Network Load Balancers.
Routing
Use route tables to determine where network traffic from your subnet or gateway is directed.
Gateways and endpoints
A gateway connects your VPC to another network. For example, use an internet gateway to connect your VPC to the internet. Use a VPC endpoint to connect to AWS services privately, without the use of an internet gateway or NAT device.
Peering connections
Use a VPC peering connection to route traffic between the resources in two VPCs.
Traffic Mirroring
Copy network traffic from network interfaces and send it to security and monitoring appliances for deep packet inspection.
Transit gateways
Use a transit gateway, which acts as a central hub, to route traffic between your VPCs, VPN connections, and AWS Direct Connect connections.
VPC Flow Logs
A flow log captures information about the IP traffic going to and from network interfaces in your VPC.
VPN connections
Connect your VPCs to your on-premises networks using AWS Virtual Private Network (AWS VPN).
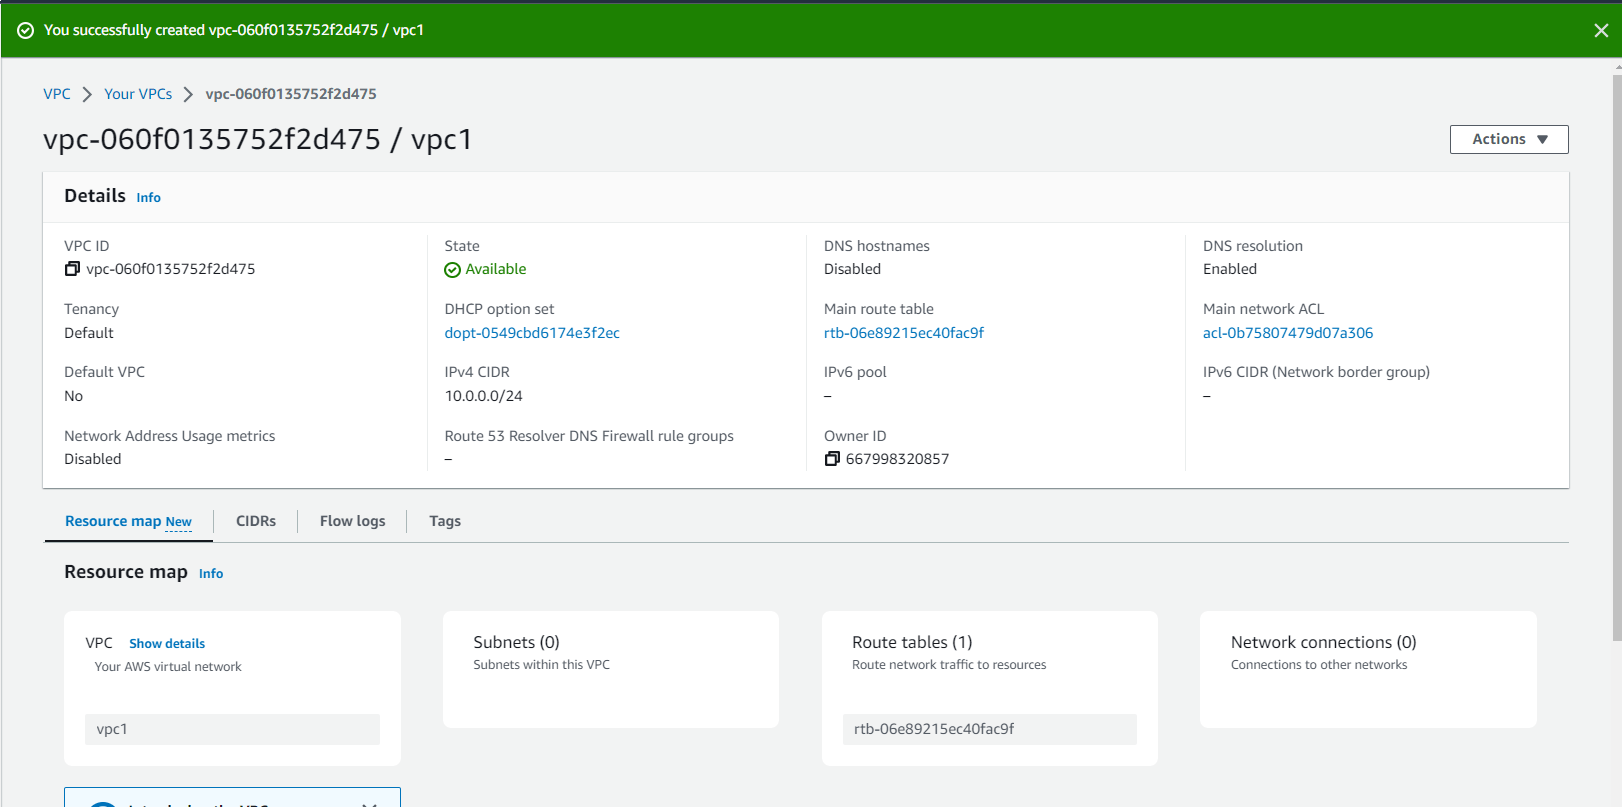
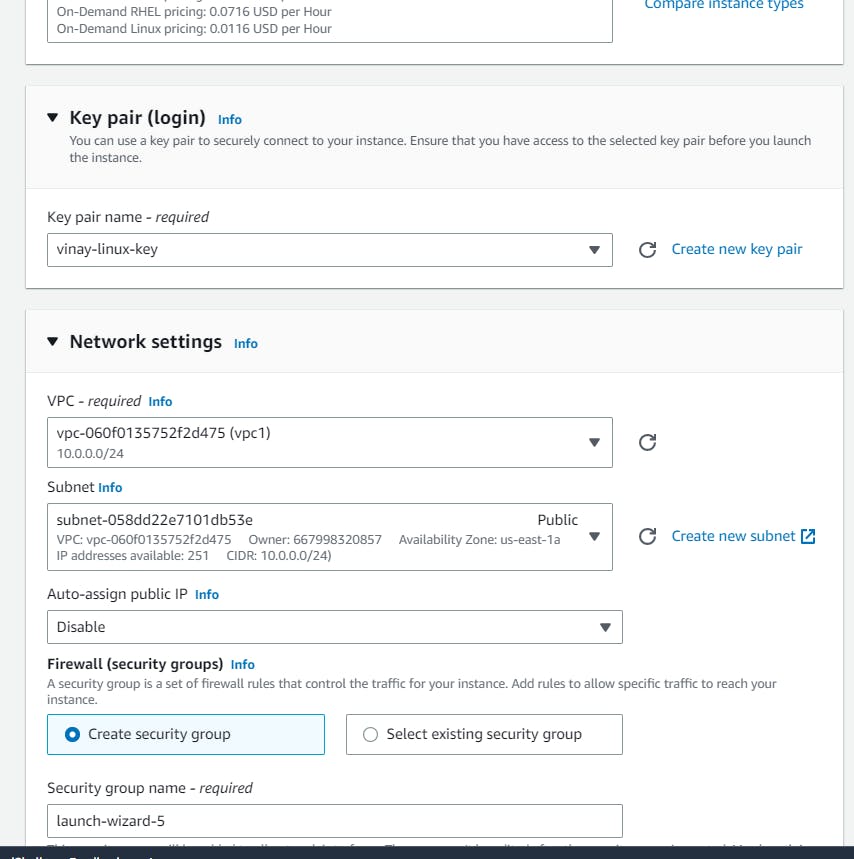
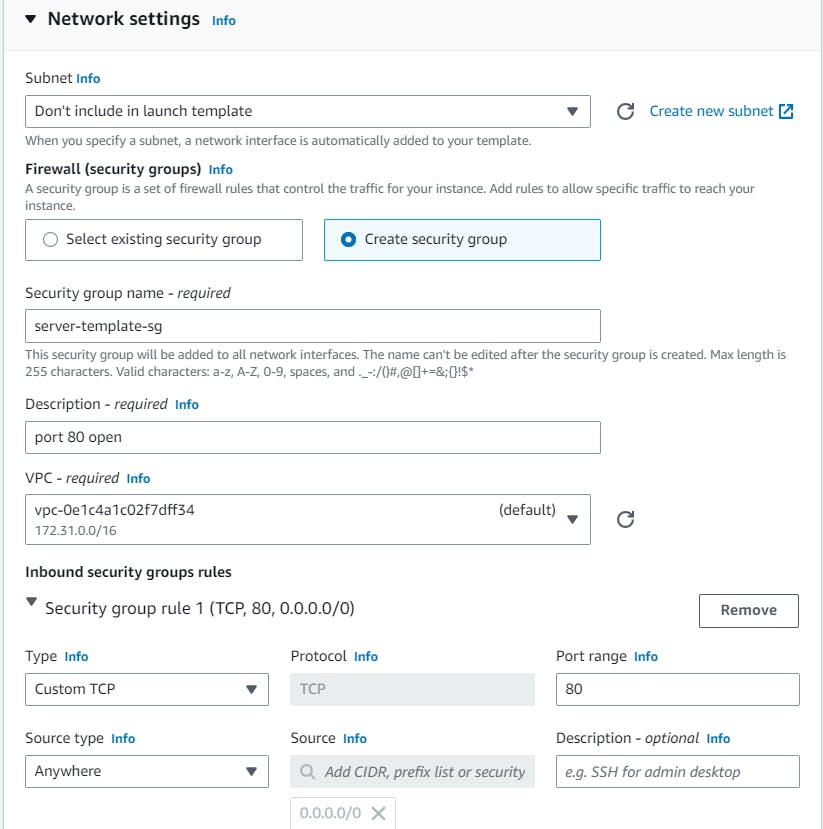
To create VPC in AWS
Step 1: Search VPC and navigate.
Step 2: Click on Create VPC and add details.

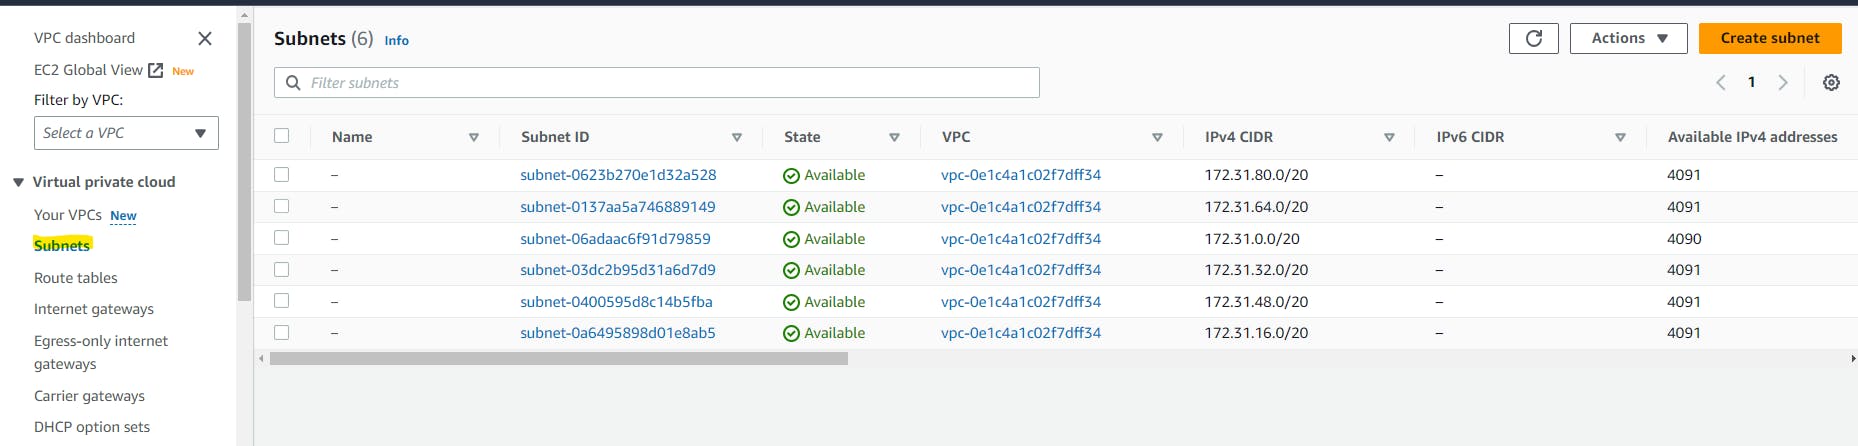
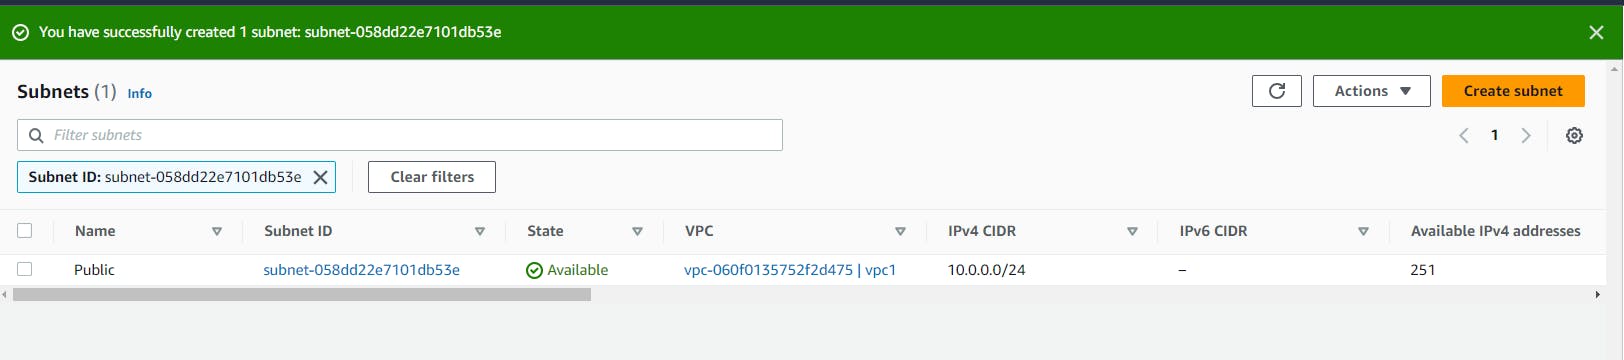
Step 3: Now, in this VPC we have to add 2 subnets. So, click on subnets from the right menu and then click on create subnet.

Step 4: After filling details and clicking on "Create subnet". Your subnet will be created.
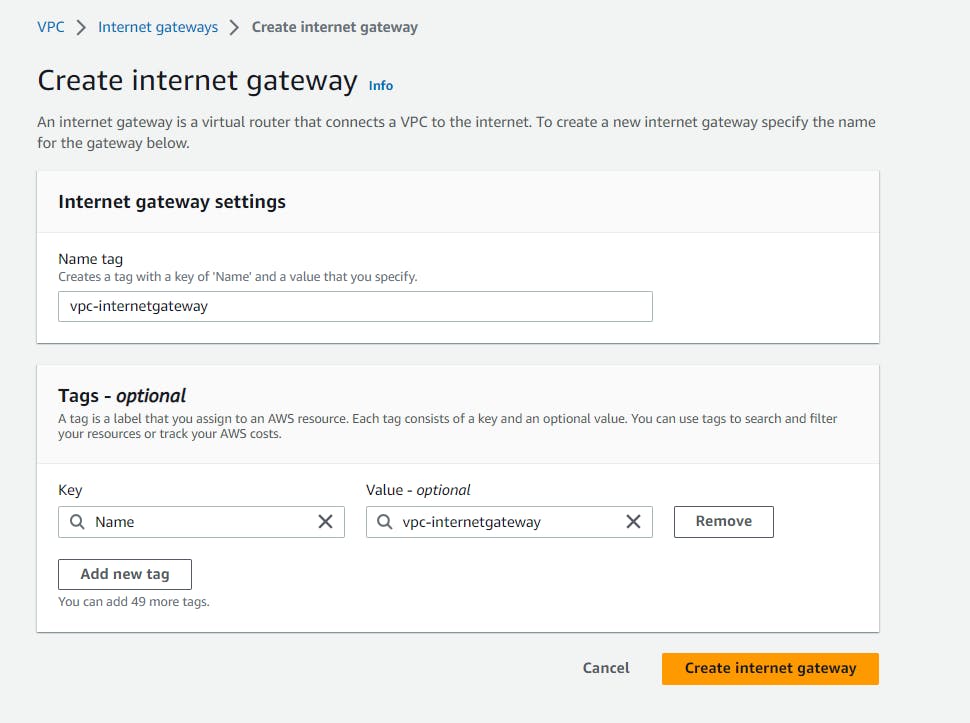
Step 5: Now, inside this subnet, we need an Internet gateway. So, navigate to the internet gateway in the right menu. And, click on create internet gateway.

Step 6: Add details and click on create internet gateway. Your internet gateway will be created.
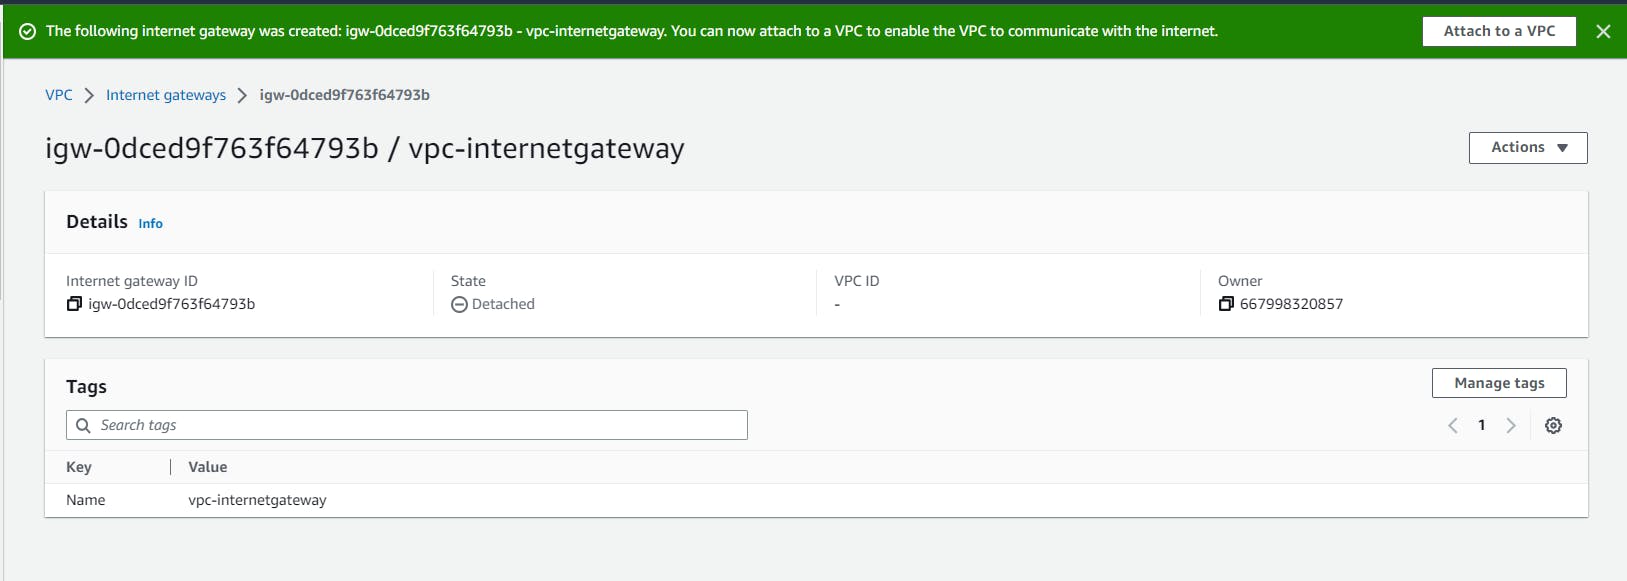
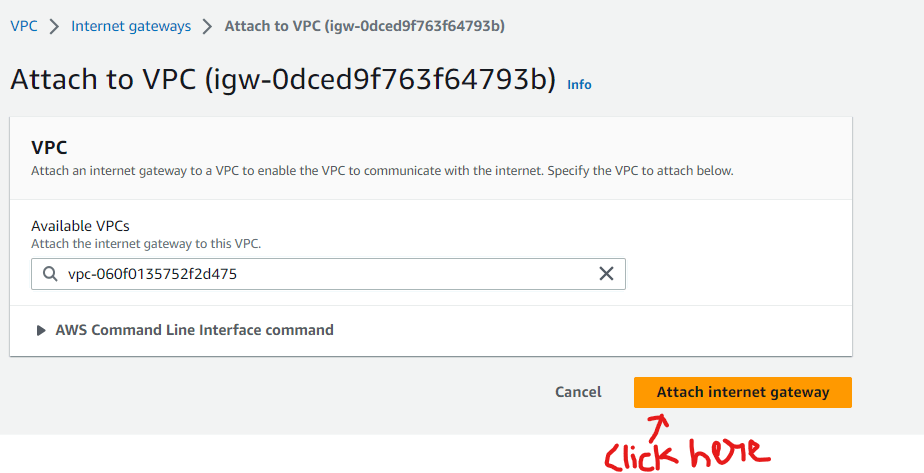
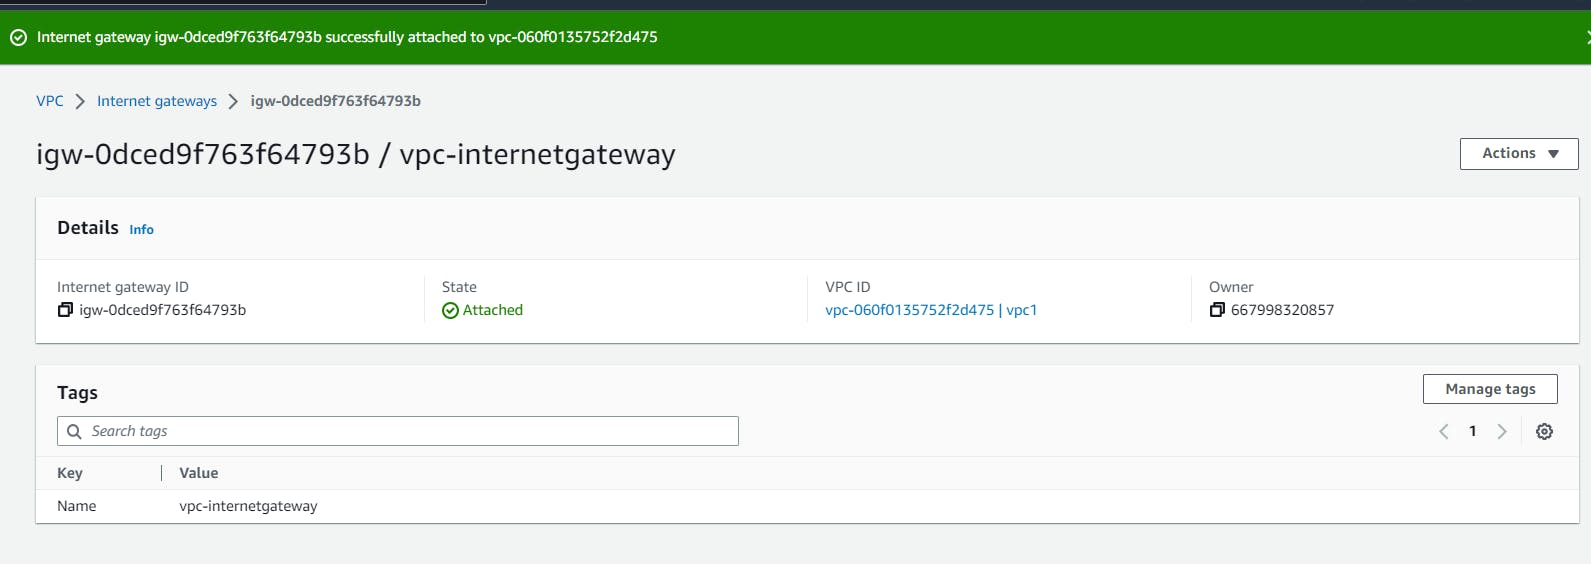
Step 7: Now, this internet gateway will attach to VPC. So, click on Attach to a VPC button available in the green header successful message.
Now, whenever we can create EC2 instance we can select our own created network.
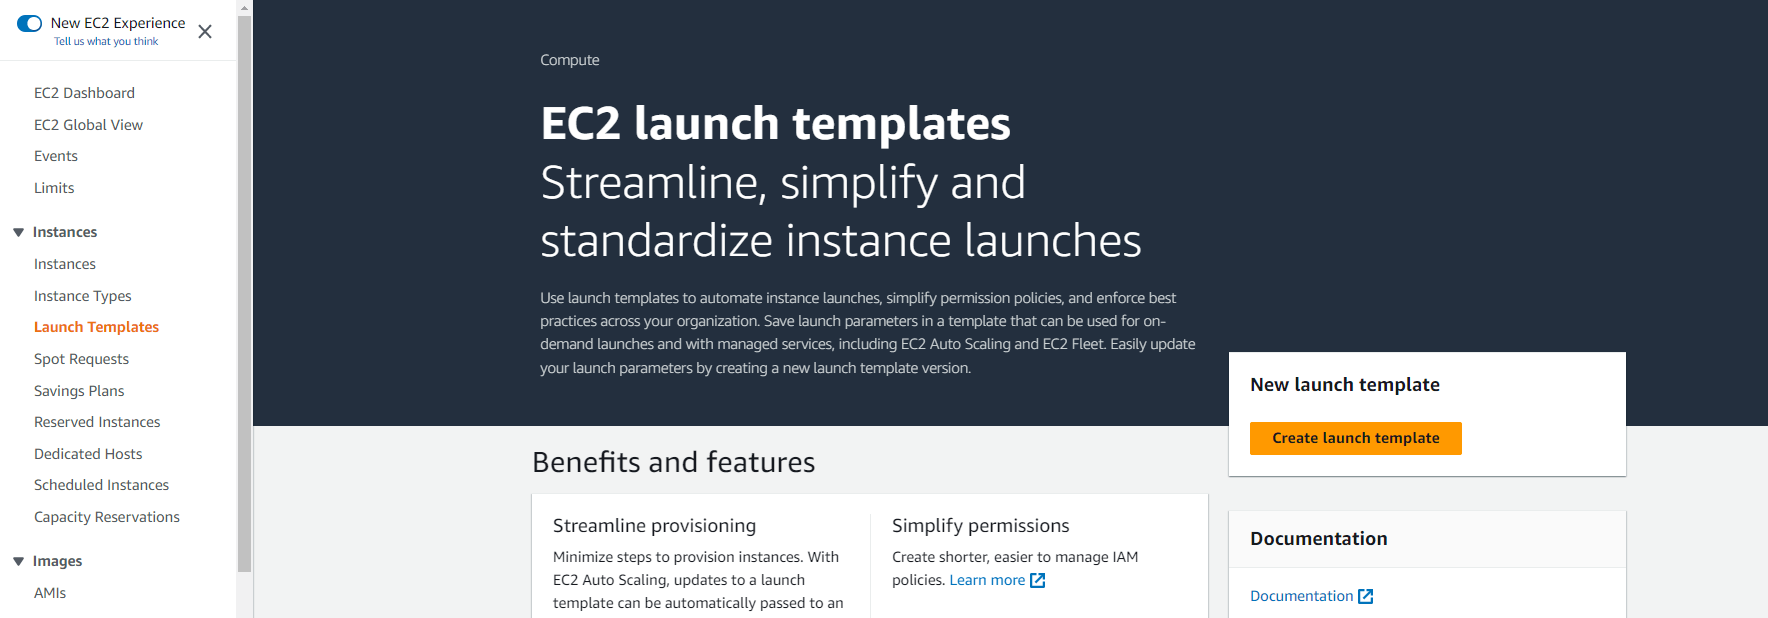
Templates
The template is a set of information required to create an instance automatically.
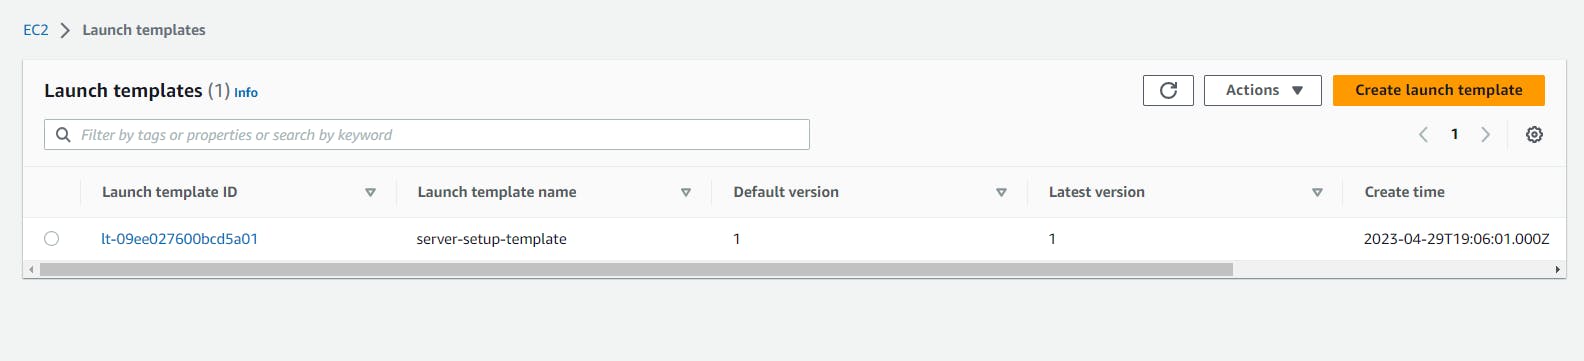
Step 1: Navigate to the Launch template from the right menu.
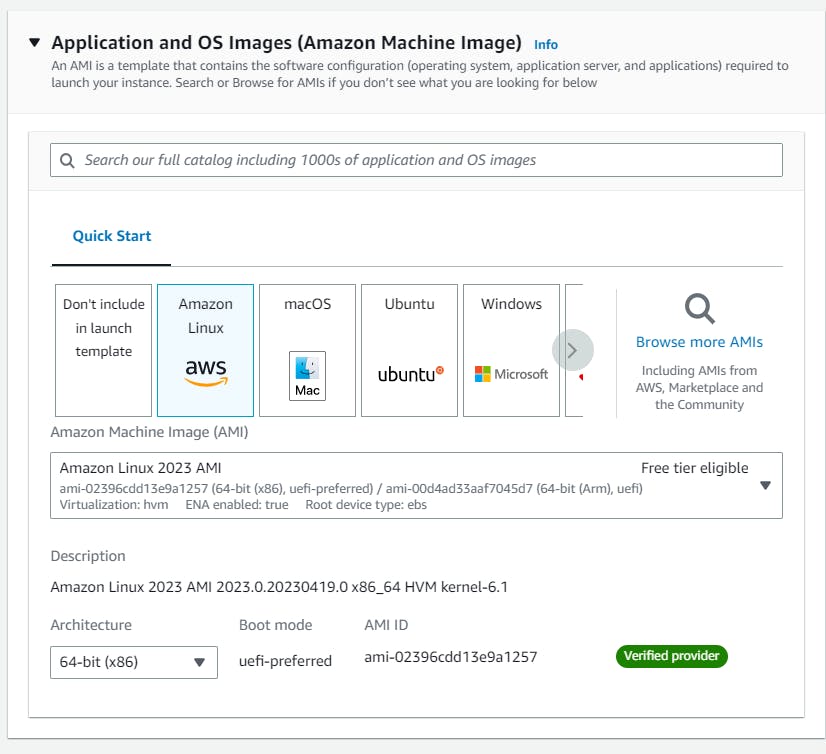
Step 2: Click on Create Launch template and add details.
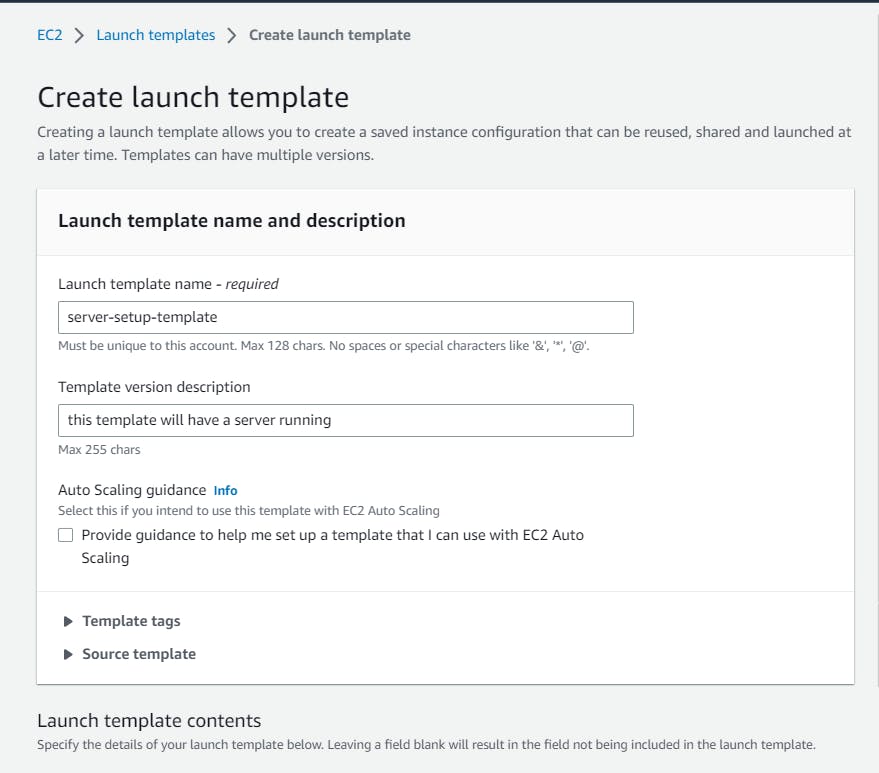
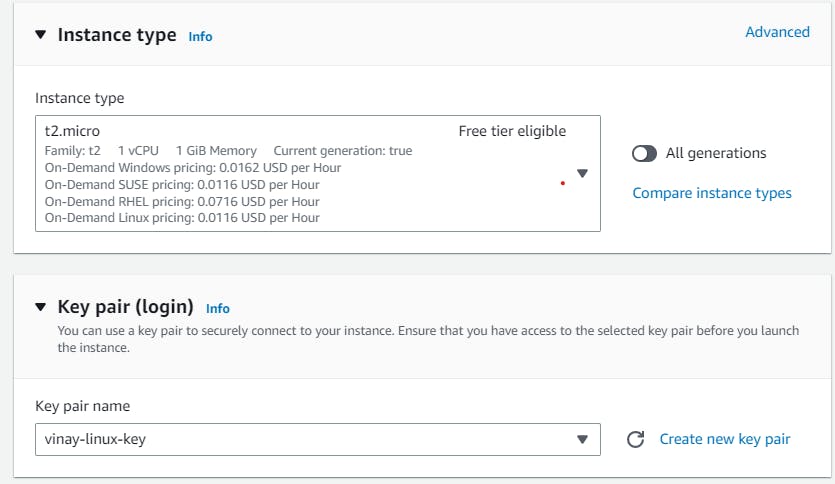

Step 3: Click on Create Launch template.
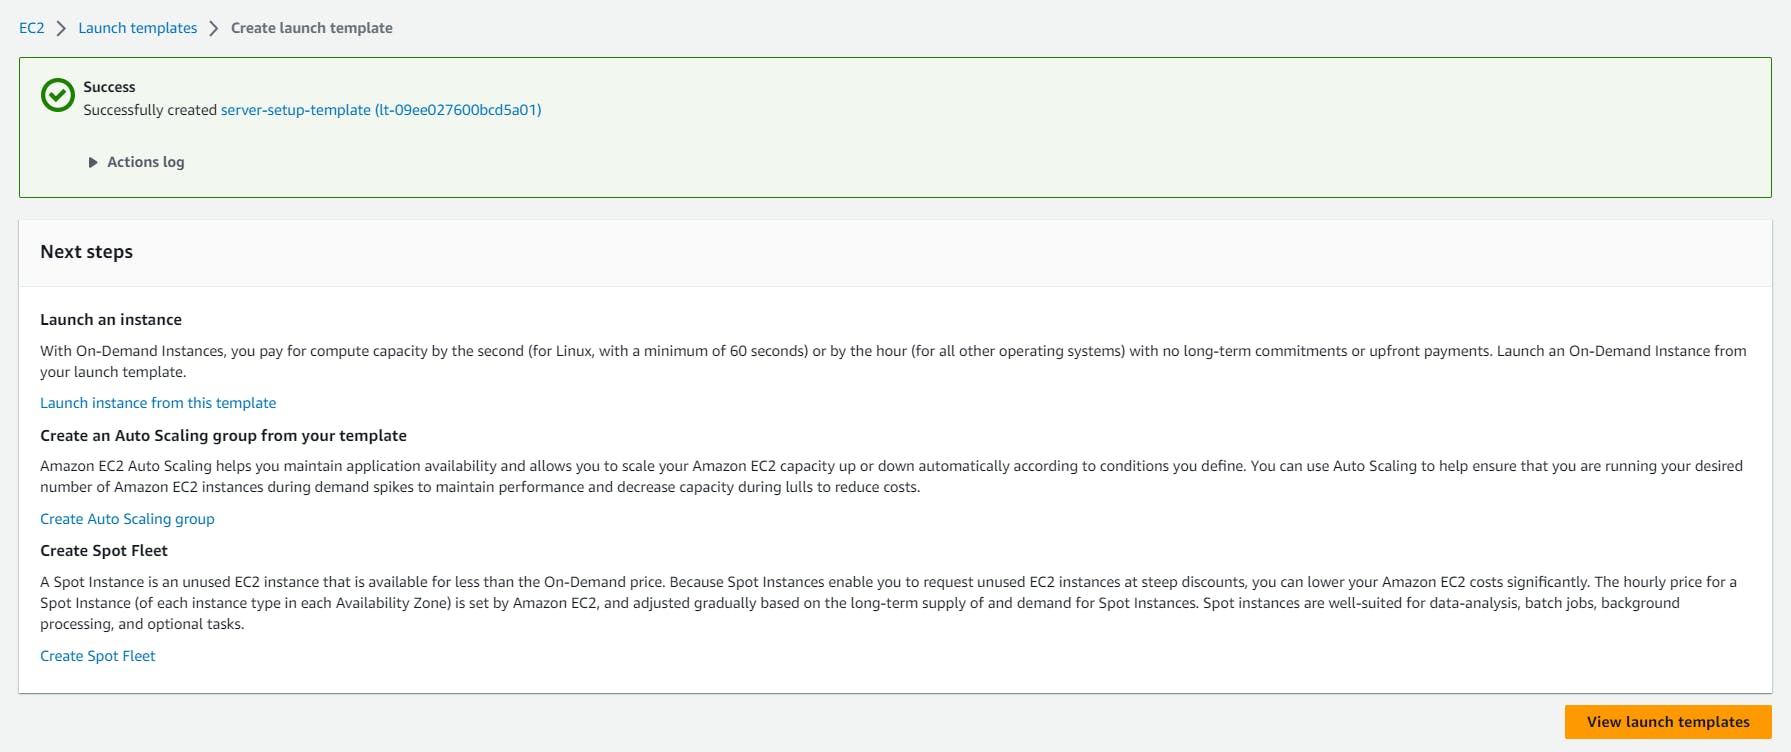
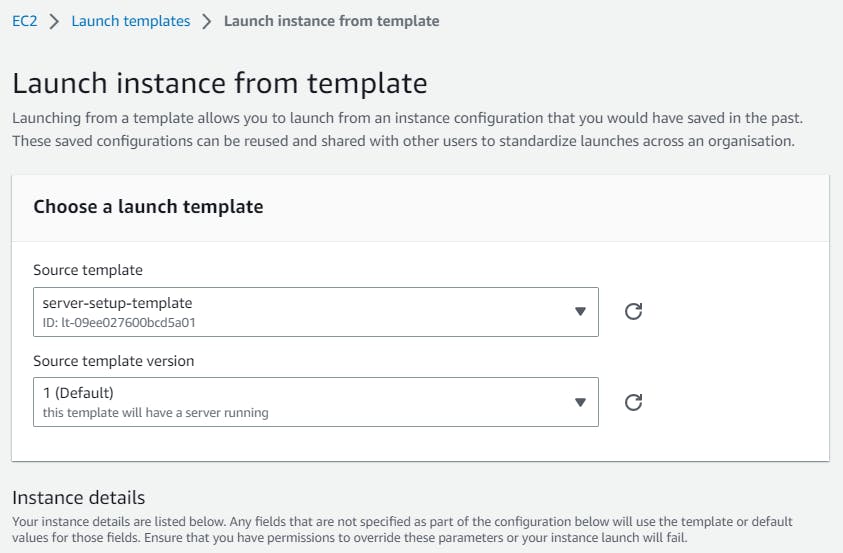
Step 4: Now, in actions click on Launch instance from the template
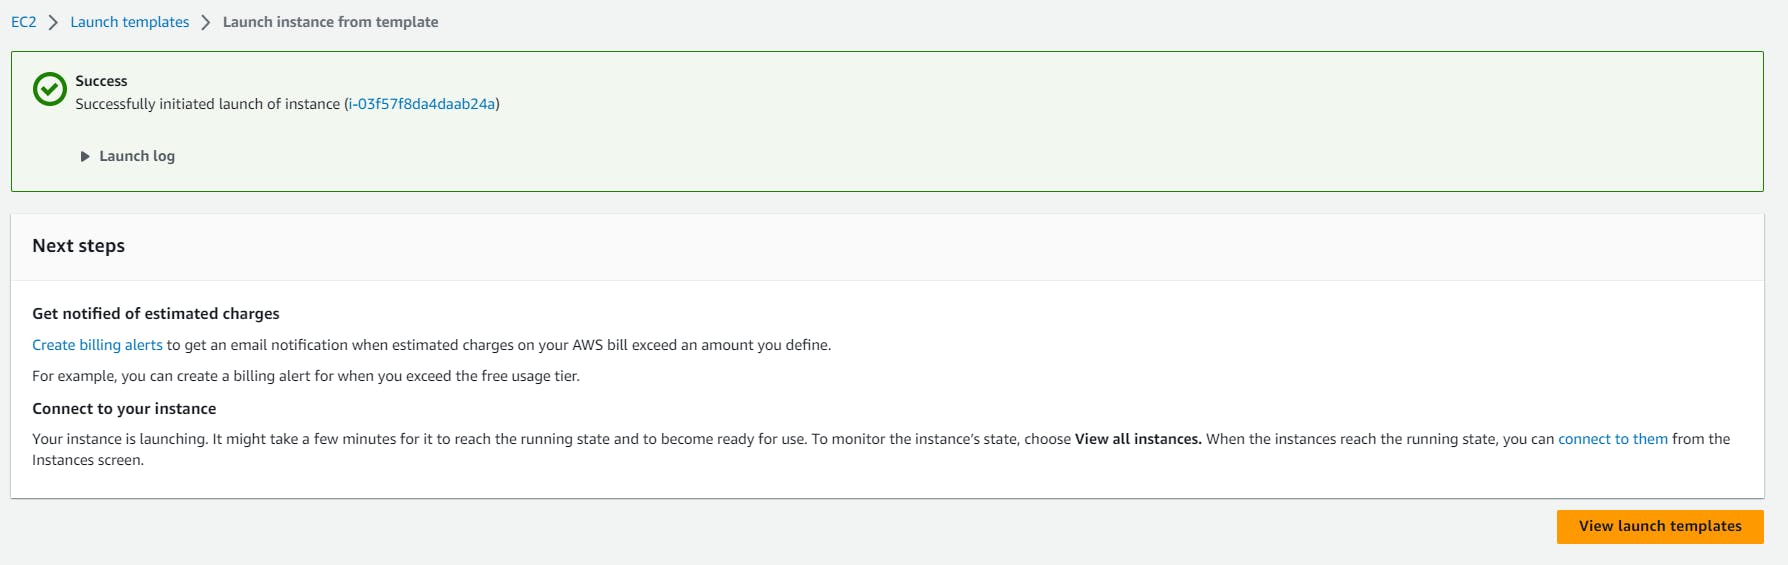
Conclusion: Using a template we can create multiple instances now.
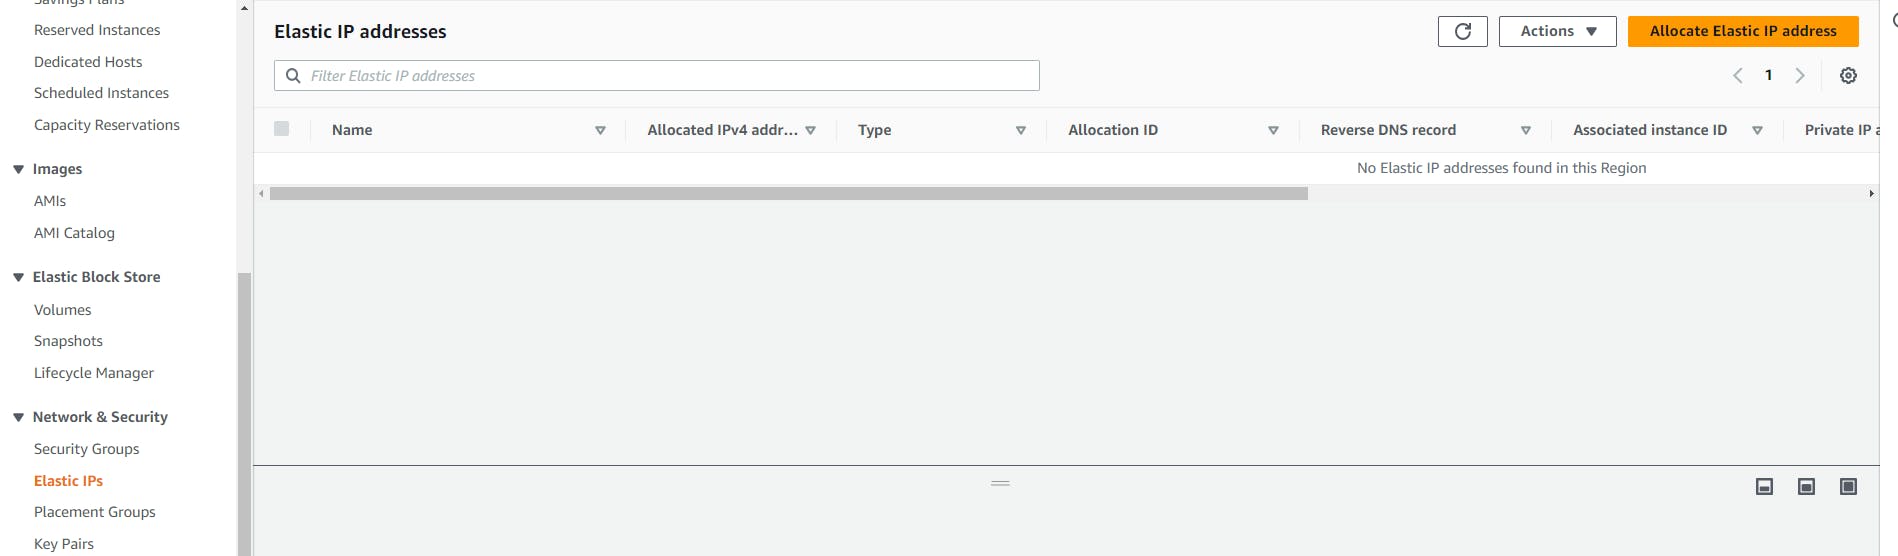
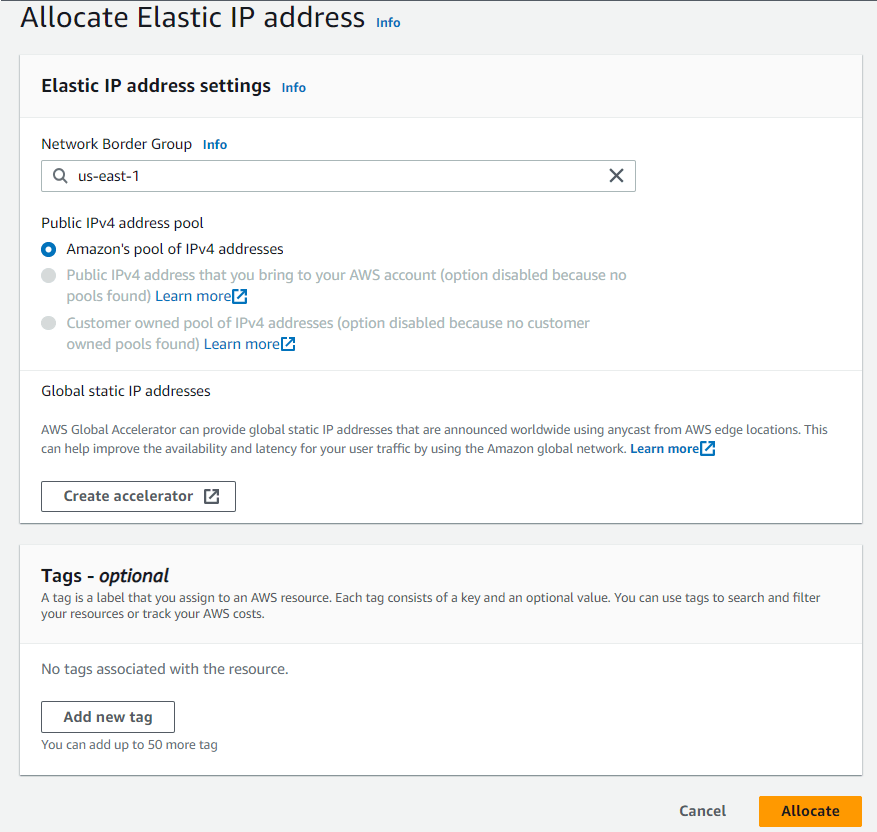
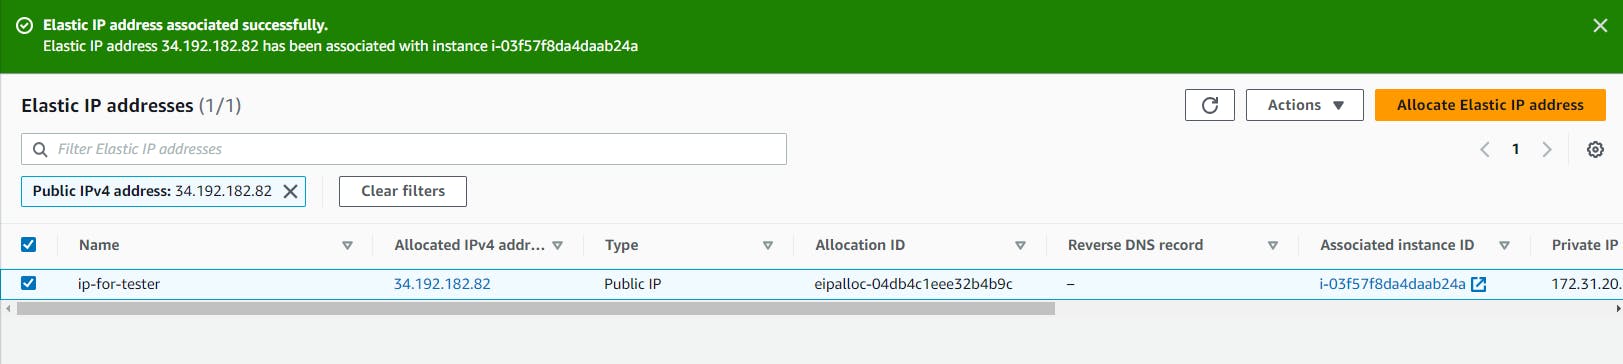
Note: Sometimes, I noticed that the instance ip got changed every day. So, to handle this we have to go to Elastic IP in the right menu.
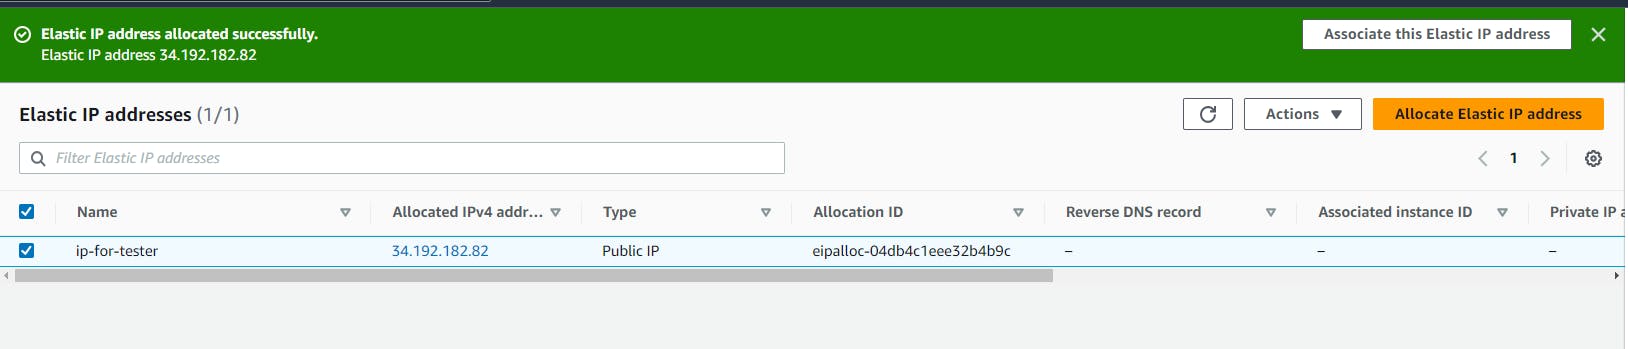
Step 2: Click on Allocate Elastic IP address and then click on Allocate. One IP will be created.
Step 3: Now, go to actions and click on associate elastic IP address
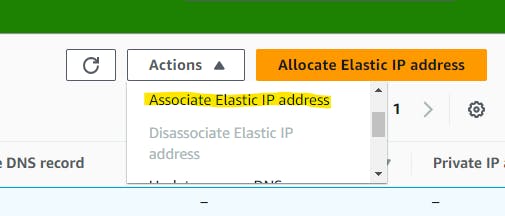
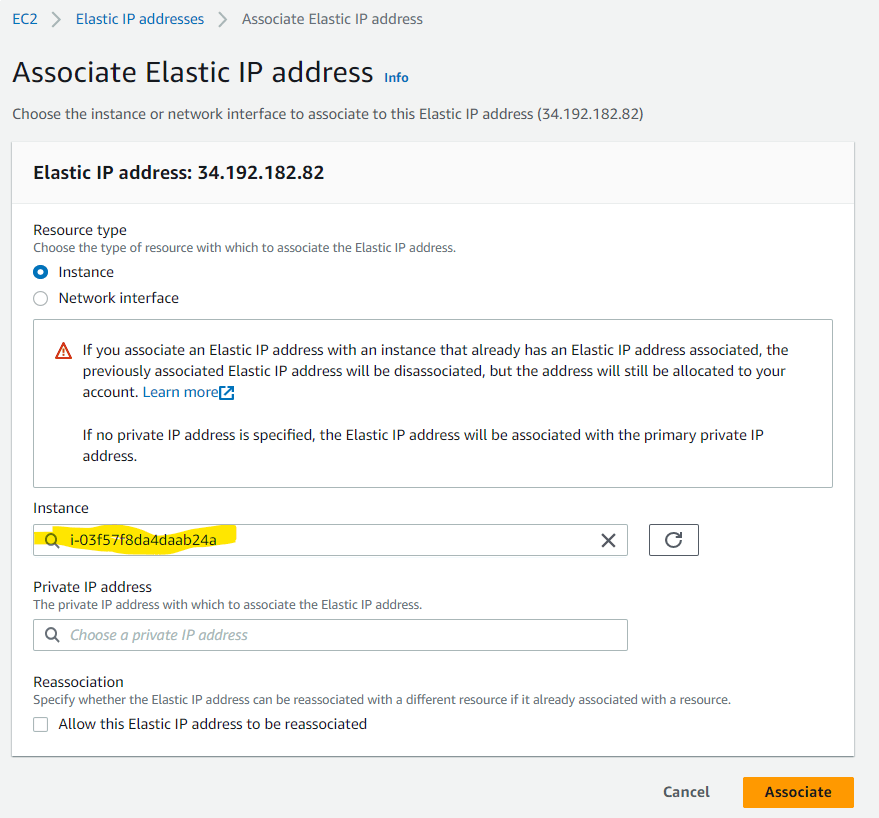
Now, this IP won't change.
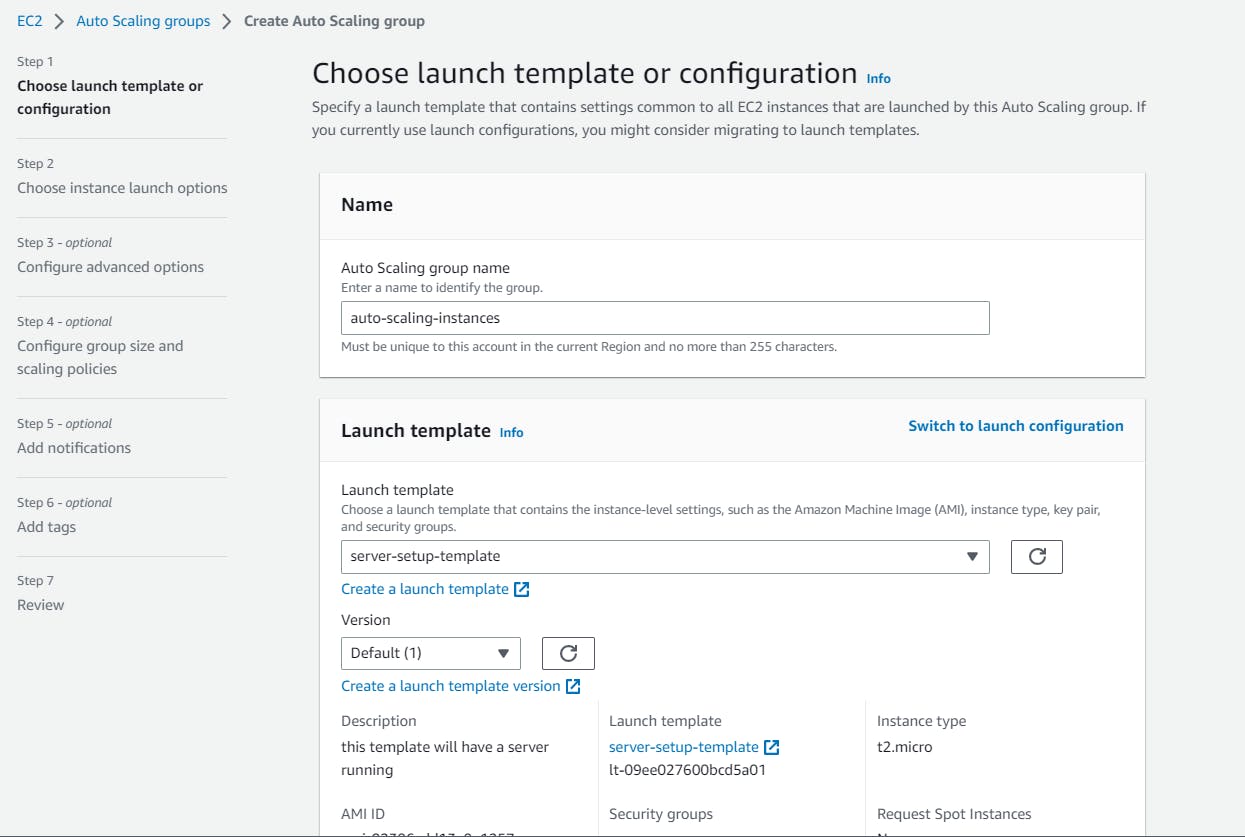
Autoscale
Step 1: Navigate to auto-scaling groups.
Step 2: Create Autoscaling
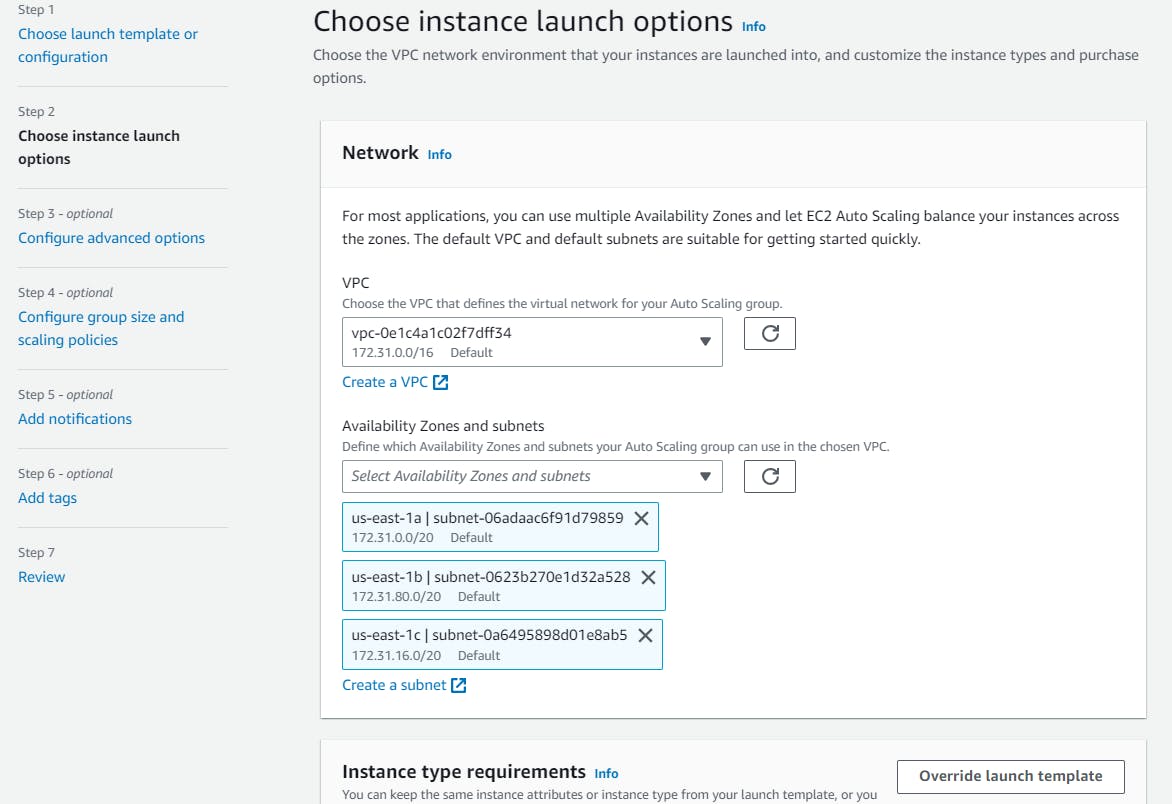
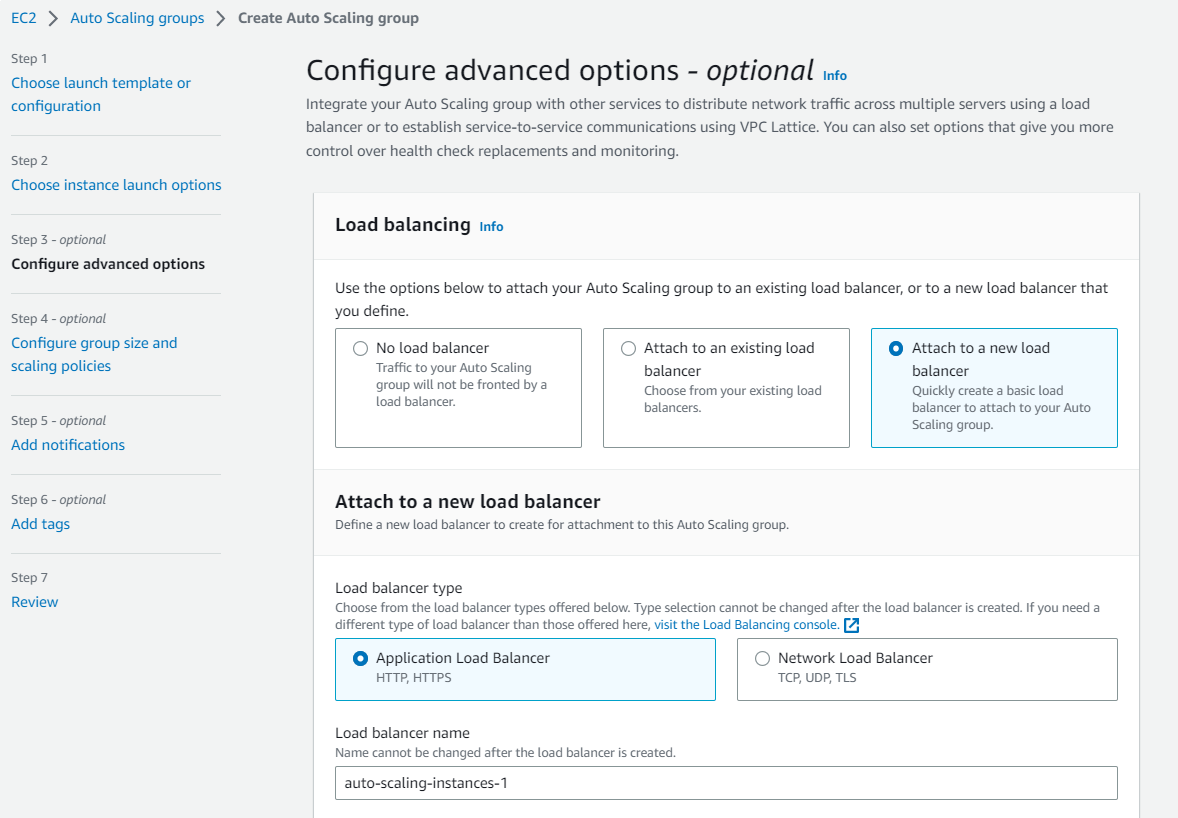
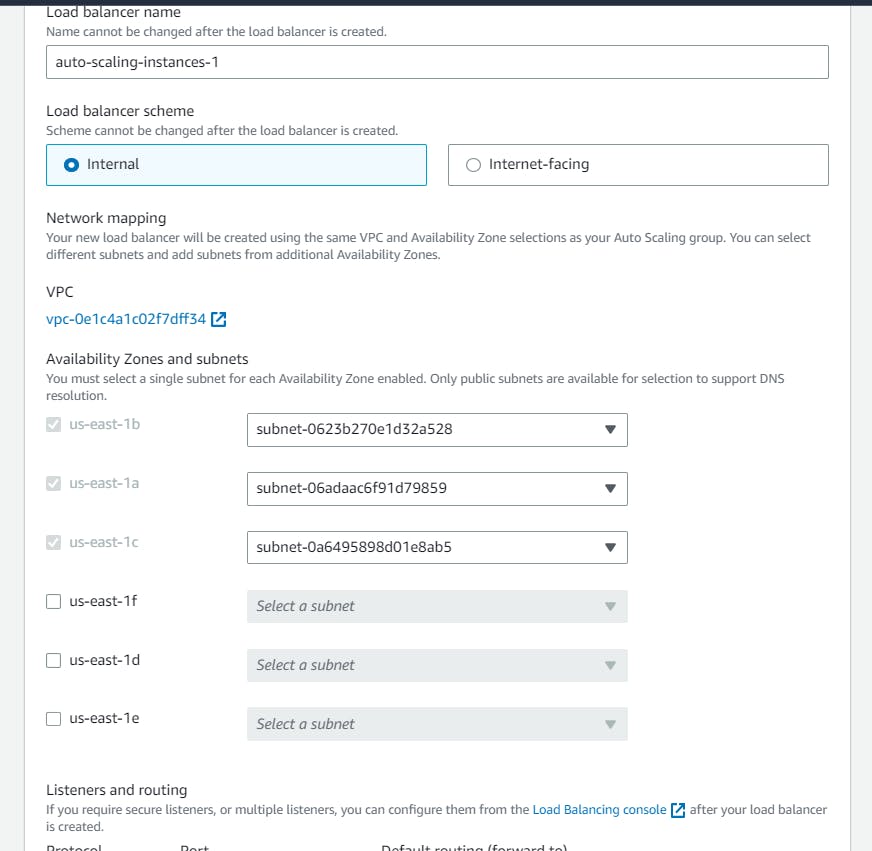
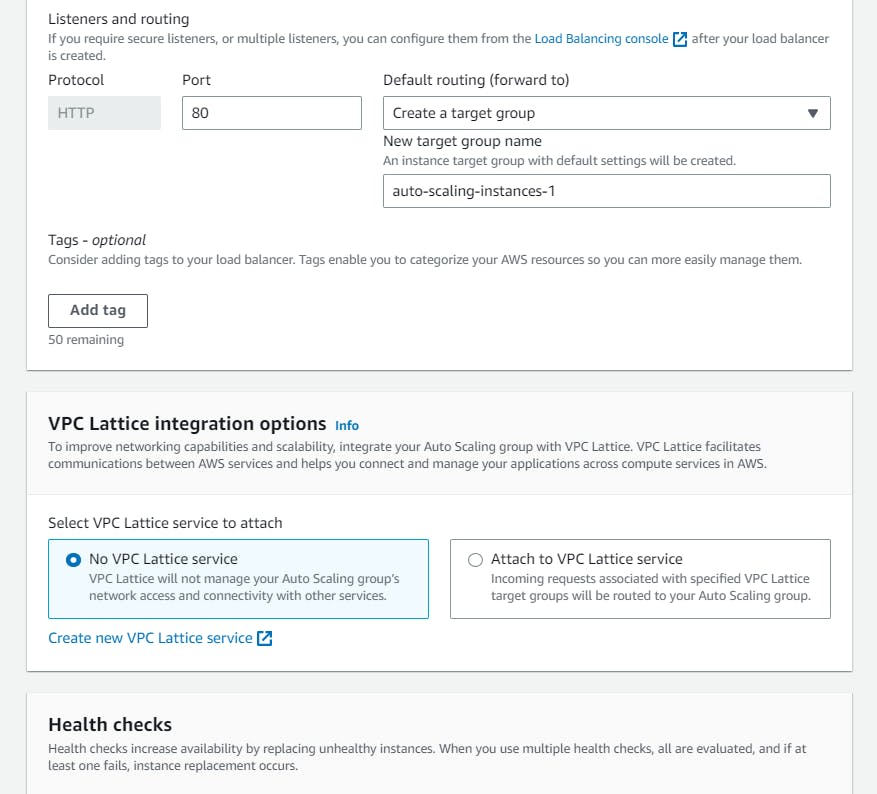
Step 3: Click on next.
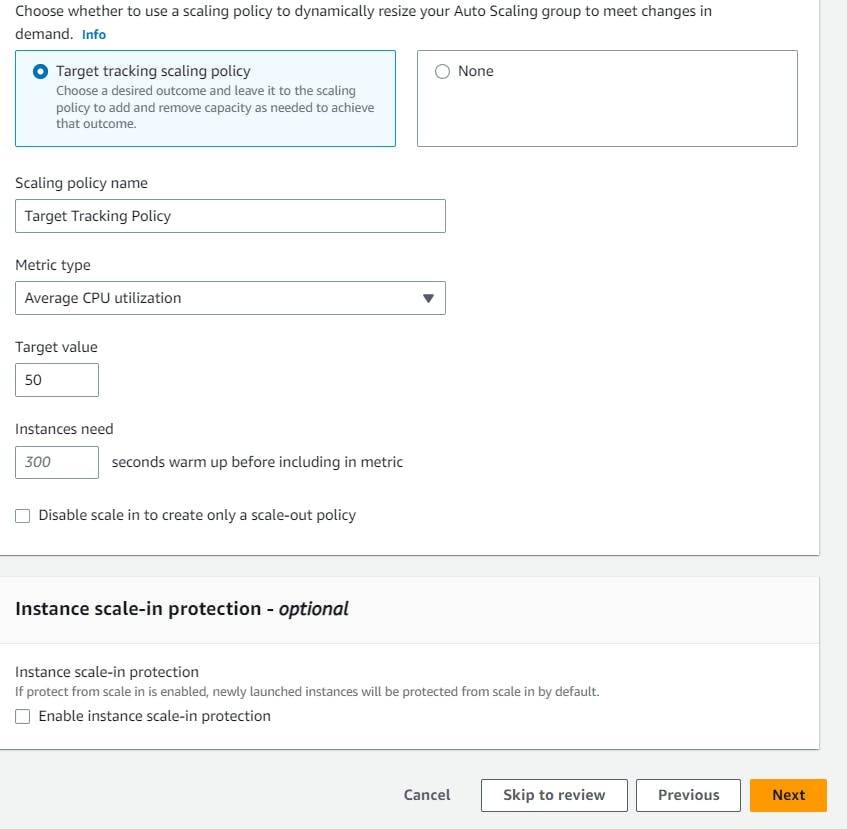
Step 4: Configure group size and scaling policies.

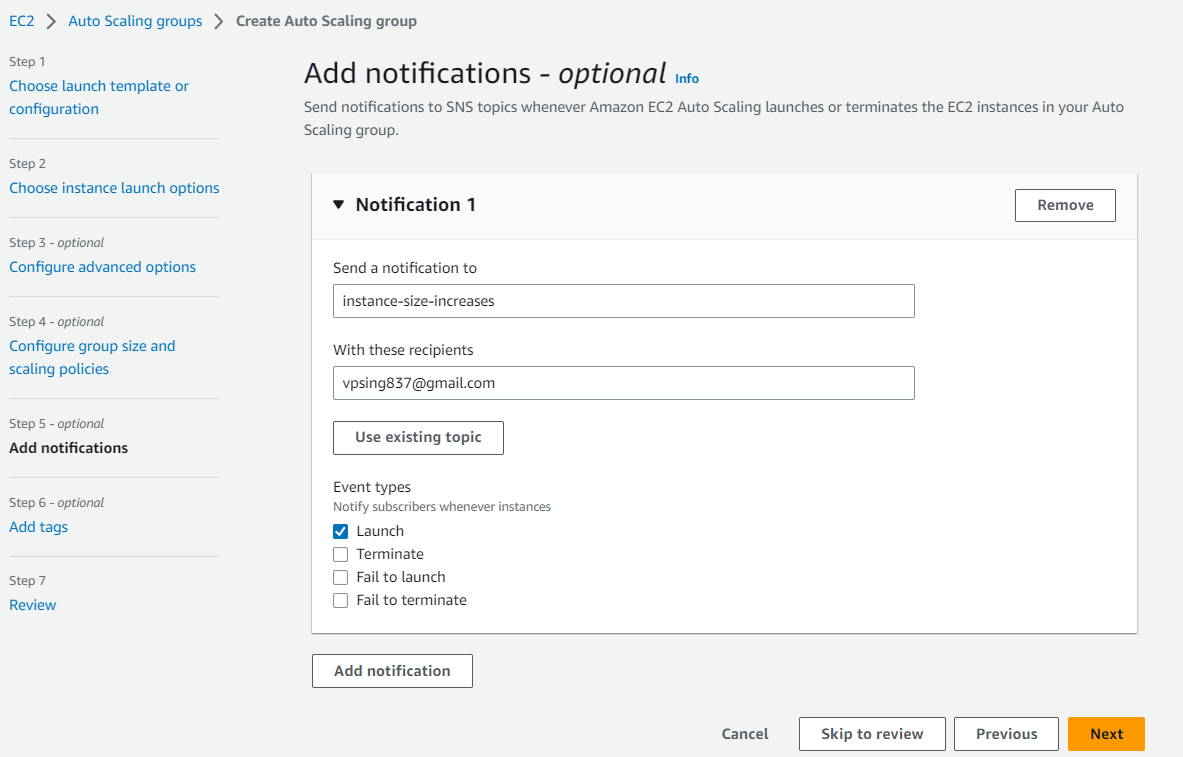
Step 5: Click on Next and notifications(optional).
Step 6: Click on next till review.
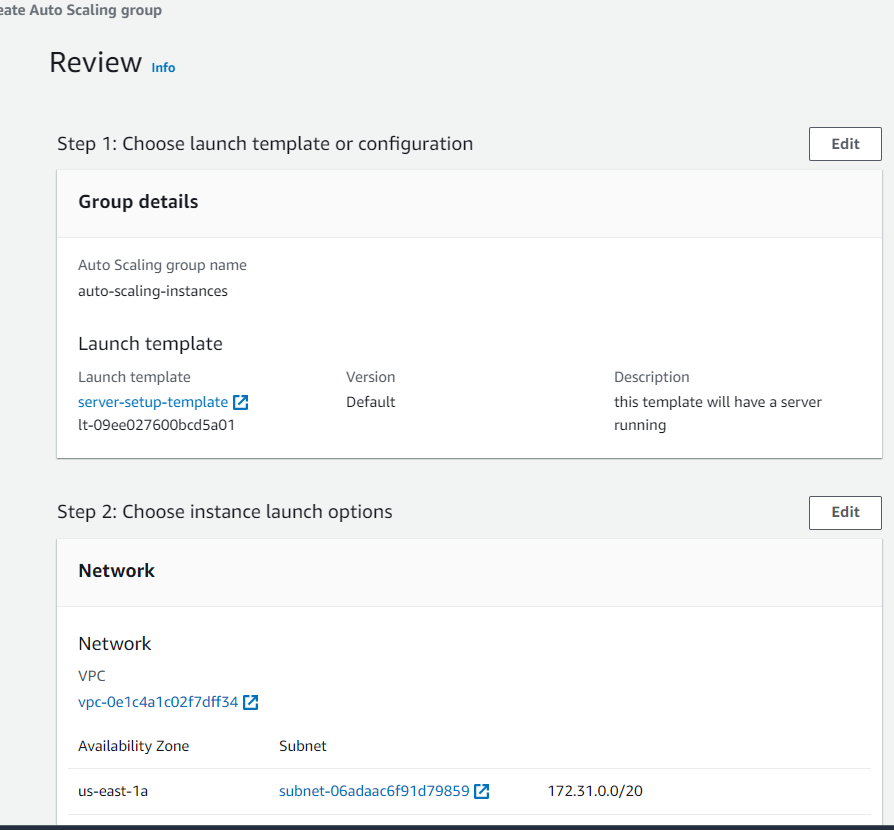
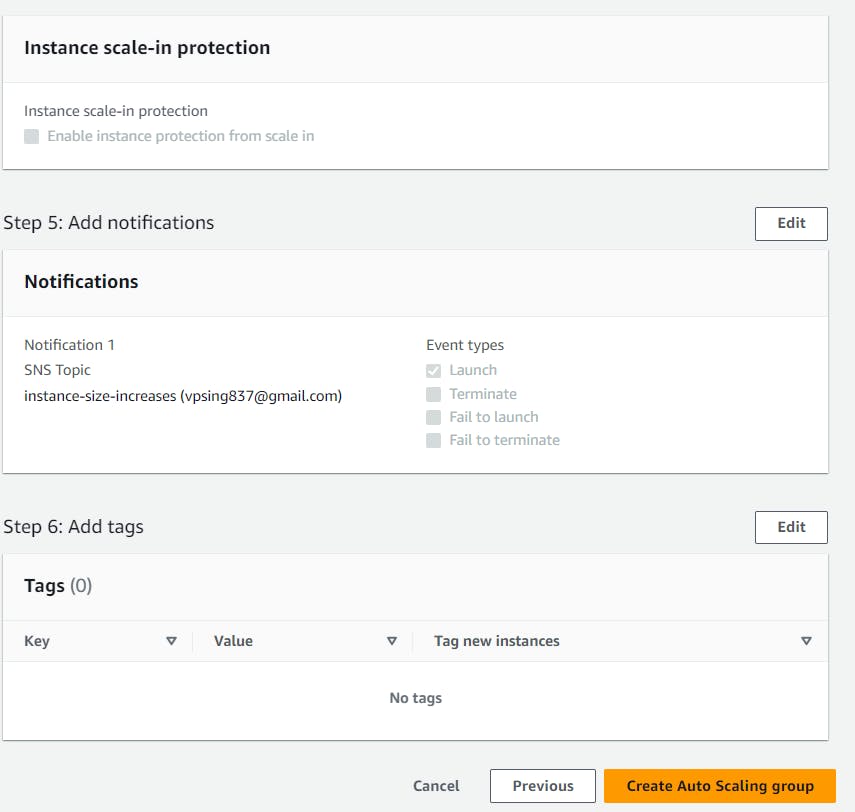
Step 7: Click on Create Auto Scaling groups and your auto scaling will be created.
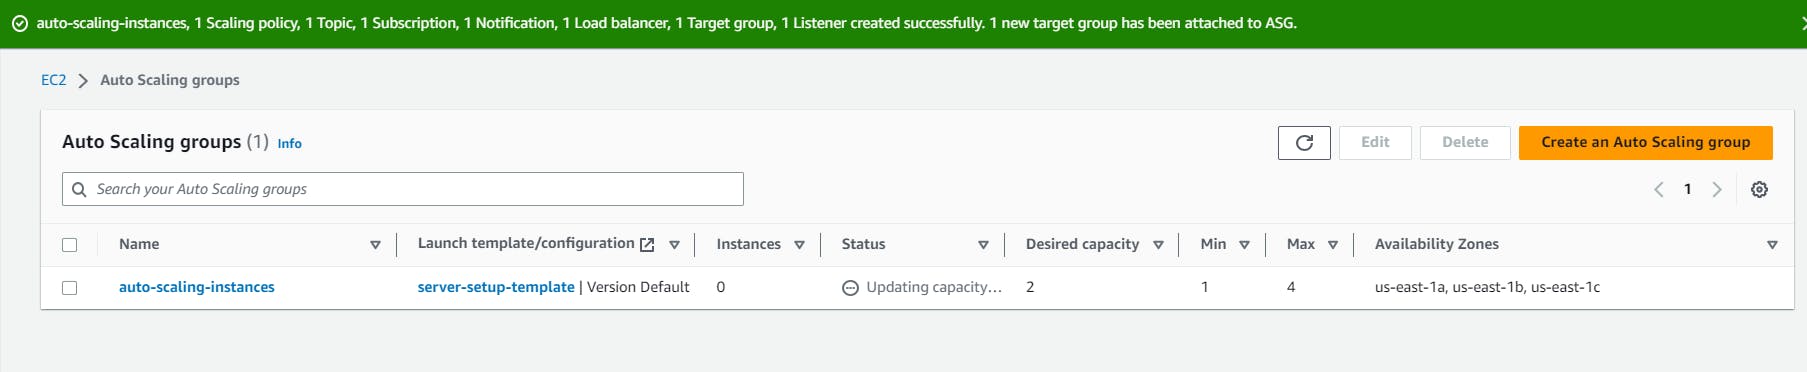
Step 8: Now go to EC2 launch from the template and your 3 machines will be created. One due to the template and rest 2 due to the desired auto-scale.
OR
Select existing instance > actions > instance settings > attach auto-scale
And whenever the CPU load increase by 50% new instance will be created.
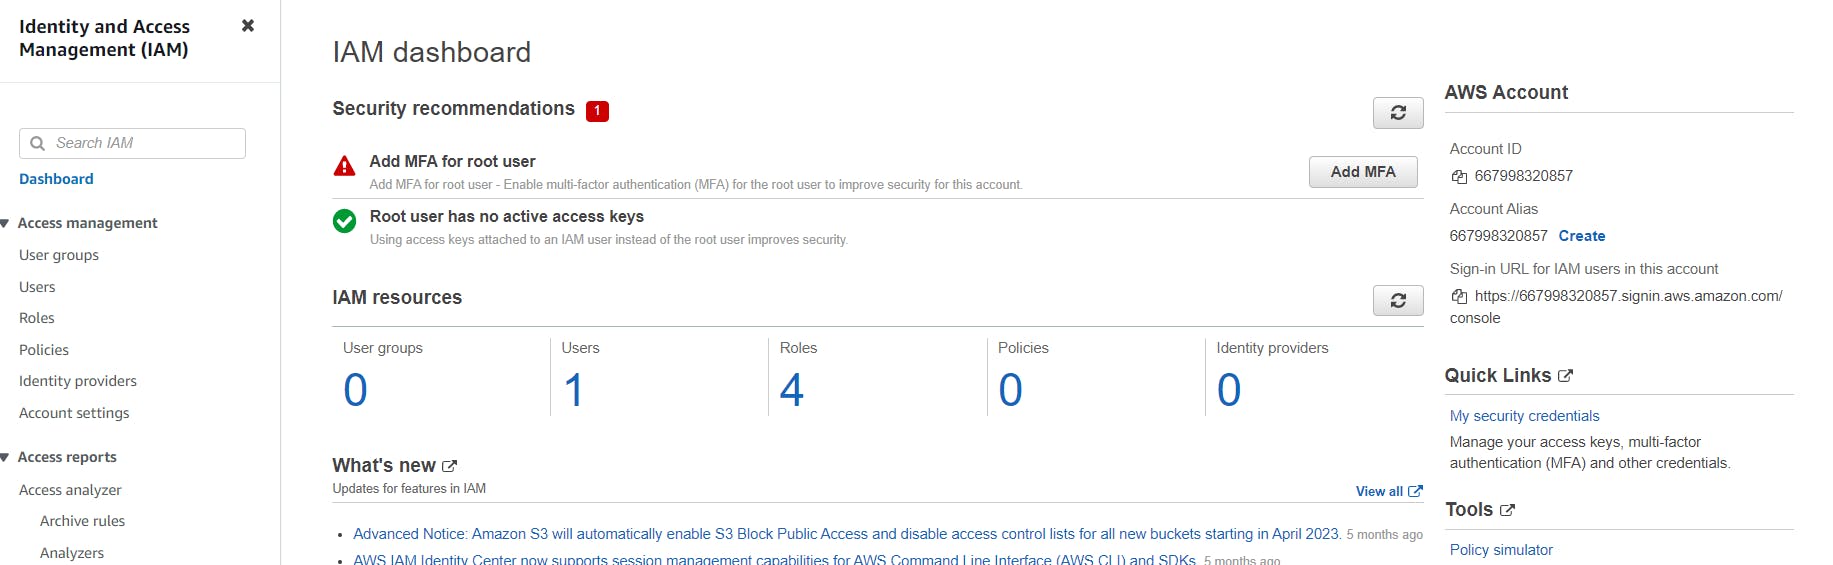
Identity Access Management (IAM)
IAM allows you to manage users and their level of access to the AWS console.
It is used to set users, permissions and roles. It allows you to grant access to the different parts of the AWS platform.
AWS Identity and Access Management is a web service that enables Amazon Web Services (AWS) customers to manage users and user permissions in AWS.
With IAM, Organizations can centrally manage users, security credentials such as access keys, and permissions that control which AWS resources users can access.
Without IAM, Organizations with multiple users must either create multiple user accounts, each with its billing and subscriptions to AWS products or share an account with a single security credential. Without IAM, you also don't have control over the tasks that the users can do.
Features of IAM
Centralized control of your AWS account: You can control the creation, rotation, and cancellation of each user's security credentials. You can also control what data in the aws system users can access and how they can access it.
Shared Access to your AWS account: Users can share the resources for collaborative projects.
Granular permissions: It is used to set a permission that the user can use a particular service but not other services.
Identity Federation: An Identity Federation means that we can use Facebook, Active Directory, LinkedIn, etc with IAM. Users can log in to the AWS Console with the same username and password as we log in with the Active Directory, Facebook, etc.
Multifactor Authentication: An AWS provides multifactor authentication as we need to enter the username, password, and security check code to log in to the AWS Management Console.
Permissions based on Organizational groups: Users can be restricted to the AWS access based on their job duties, for example, admin, developer, etc.
Networking controls: IAM also ensures that the users can access the AWS resources within the organization's corporate network.
Provide temporary access for users/devices and services where necessary: If you are using a mobile app and storing the data in an AWS account, you can do this only when you are using temporary access.
Integrates with many different aws services: IAM is integrated with many different AWS services.
Supports PCI DSS Compliance: PCI DSS (Payment Card Industry Data Security Standard) is a compliance framework. If you are taking credit card information, then you need to pay for compliance with the framework.
Eventually Consistent: IAM service is eventually consistent as it achieves high availability by replicating the data across multiple servers within Amazon's data center around the world.
Free to use: AWS IAM is a feature of the AWS account which is offered at no additional charge. You will be charged only when you access other AWS services by using an IAM user.
Step 1: Search and navigate to IAM
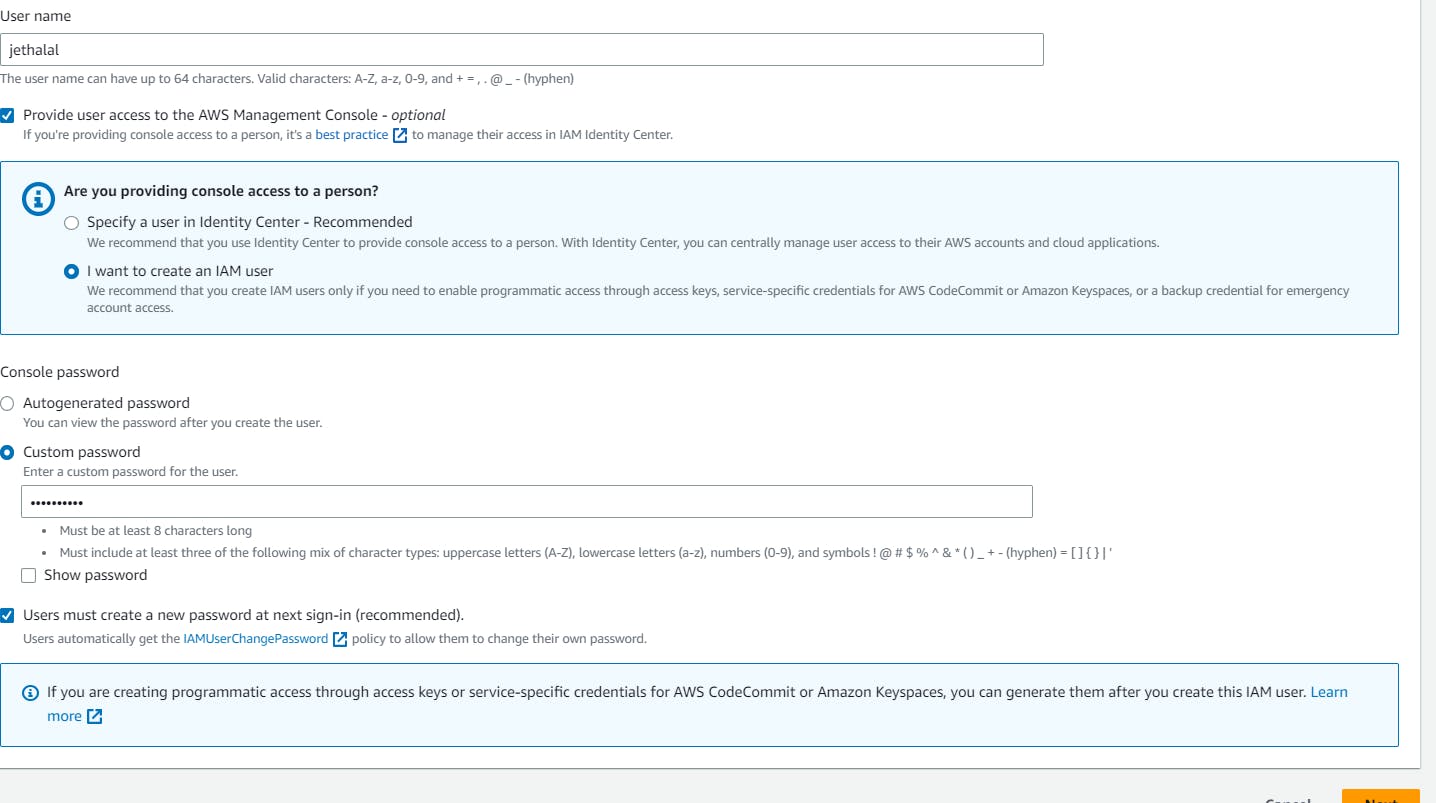
Step 2: Navigate to Users and create a user
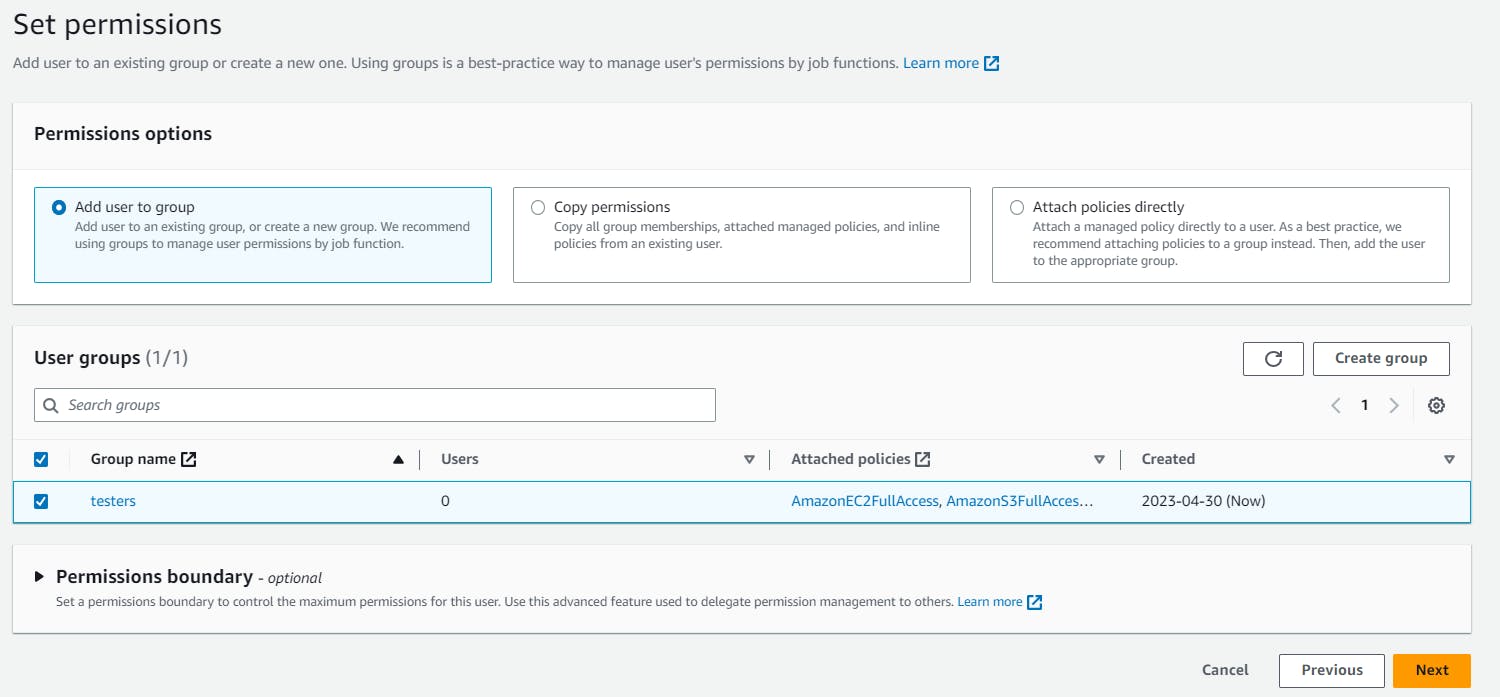
Step 3: Create group

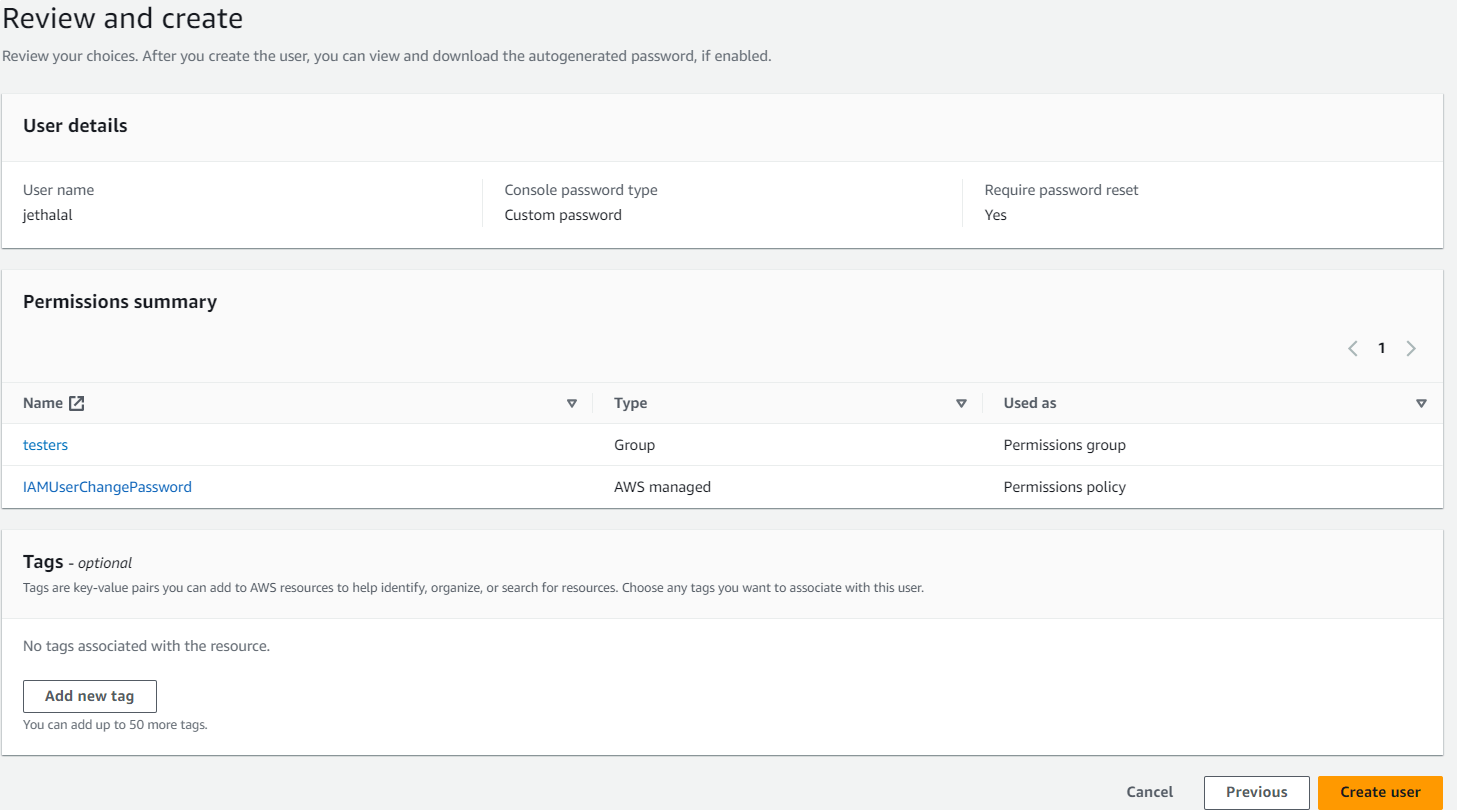
Step 3: Click on Create user.

Your user is created and now you can send details through email or download csv file and send it to the user.
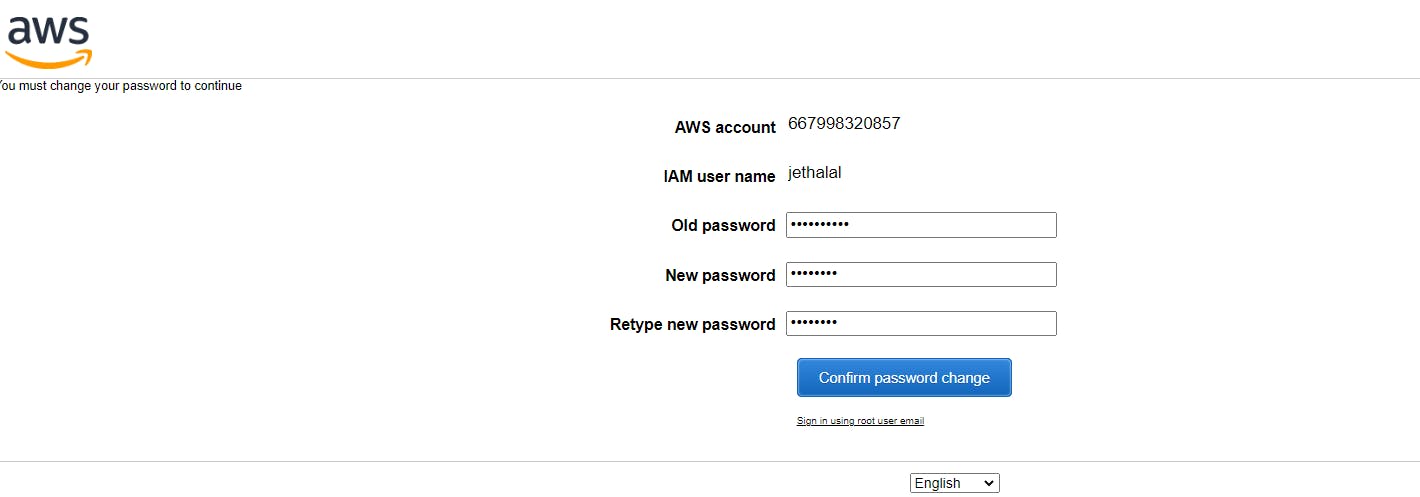
Create an access key for the user to see S3 bucket data.
Step 1: Sign in to the root user and navigate to a created user
Step 2: Click on the security credentials of that user
Step 3: Go to the access key and select CLI and enable the checkbox at the end then click on next
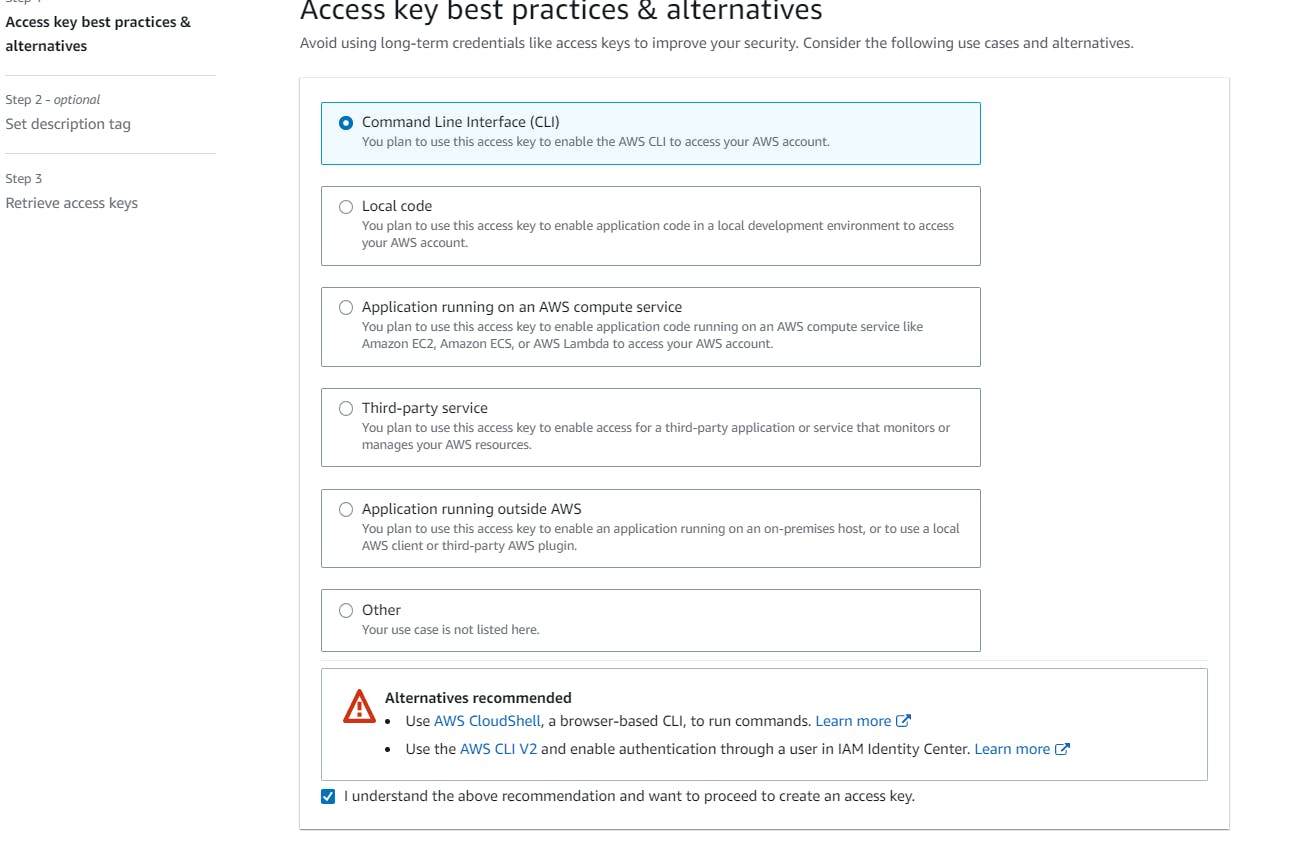
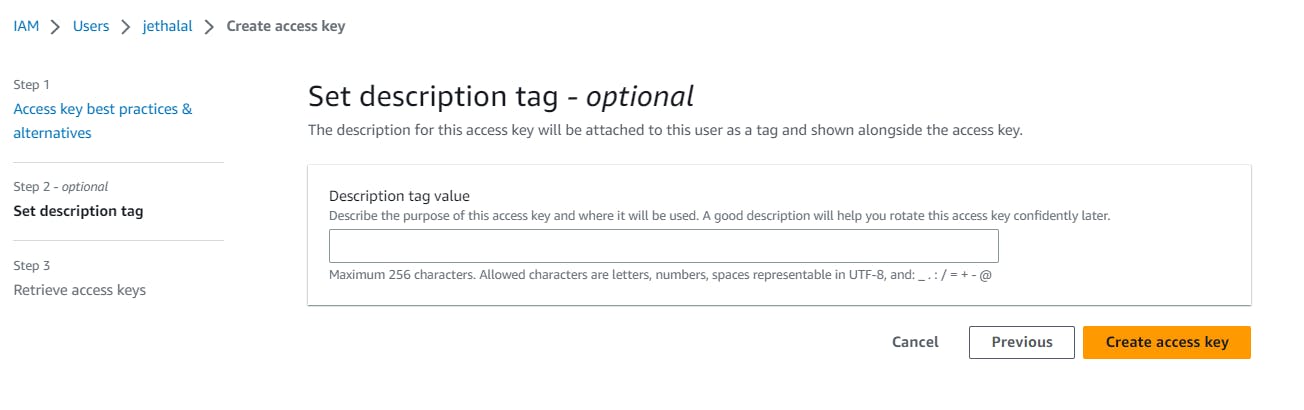
Step 4: Click on Create an access key.
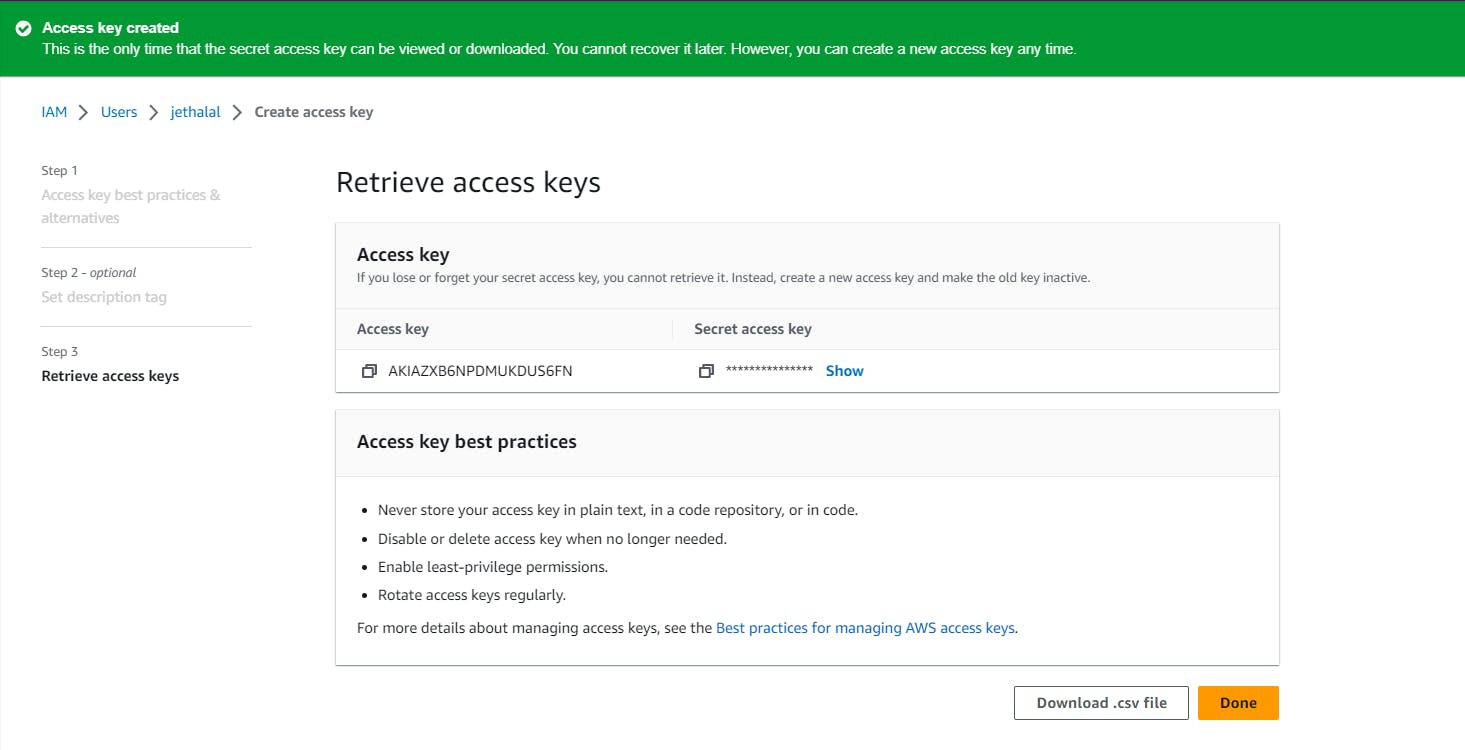
You can download the access key in csv. And, now user "jethalal" can access through AWS console as well as CLI.
Now, you can install aws CLI, and by using an access key user can access S3 through CLI. Follow the below link for installation.
https://docs.aws.amazon.com/cli/latest/userguide/getting-started-install.html
Thank you for reading this Blog. Hope you learned something new today! If you found this blog helpful, please share it with others.